Install on macOS for Bee Swarm Simulator
Revolution Macro can be downloaded as a macOS .dmg from GitHub Releases. This guide will walk you through installing it into Applications, granting permissions, and starting your first session.
On modern Macs that have a hi-res Retina display, the macro may create a virtual display or turn on Enable Low DPI Patching to run Roblox at a lower resolution. See Capture and diagnostics for more.
Before you start
Section titled “Before you start”- Requires macOS 10.15 or later.
-
Download the latest macOS .dmg from GitHub Releases, open it, and drag Revolution Macro into Applications. Revolution Macro appears in the folder.
-
Open Revolution Macro from Applications. The macro UI launches. macOS may prompt you to allow Accessibility.
-
Open System Settings → Privacy & Security. Under Accessibility, turn on Revolution Macro. Under Screen Recording, turn on Revolution Macro as well.
-
With Roblox installed (typically
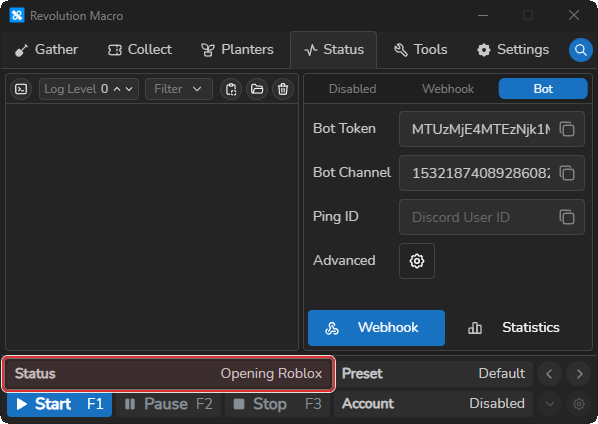
/Applications/Roblox.app), start the macro. Status showsOpening Roblox, thenGame Loading. On modern Macs that have a hi-res Retina display, the macro opens a new window (Revolution Macro (Virtual Display)) that shows a virtual display and moves the Roblox window there.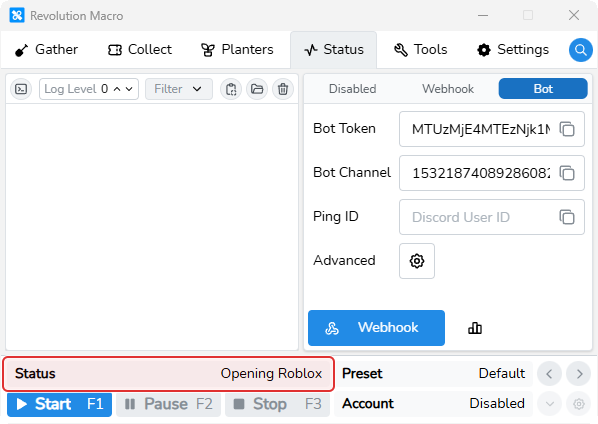
More settings
Section titled “More settings”Enable Low DPI Patching
Section titled “Enable Low DPI Patching”macOS-only. When on, the macro patches Roblox to run at a lower resolution on Retina instead of using a virtual monitor. Graphics may look blurry. Leave off for first run. Turn on only if you want to avoid the built-in virtual monitor.
Disable Virtual Monitor
Section titled “Disable Virtual Monitor”macOS-only. When off (default), the macro creates a virtual monitor on modern Macs that have a hi-res Retina display (prefer Virtual Monitor Resolution 1920x1080). Leave off for first run on those Macs. Greyed out while Enable Low DPI Patching is on. For the full resolution list and related capture settings, see Capture and diagnostics.
Troubleshooting
Section titled “Troubleshooting”You do not need to change capture or other macro settings during install. If something goes wrong on first run (permissions, Retina / DeskPad, settings that will not save, or open/load failures), see these guides:
- Install and permission problems for Accessibility, Screen Recording, Retina / virtual monitor, and Access denied
- Detection problems for display and capture preflight
- Roblox launcher loops for
Game Start-Up Failed, Load Timeout, and open loops