
Set up a Discord webhook and bot
Revolution Macro makes it easy to monitor what’s happening without having to watch your PC directly. This guide will walk you through setting up your own Discord server, a status channel, and a webhook so that Revolution can post hourly graphs and regular updates about your macro’s activities. You can set up a bot on that same server if you want to start, pause, or stop from your phone.
Before you start
Section titled “Before you start”- Use the Discord desktop app or browser. You need a server which you have administrator permissions in - your own private server is enough. Keep the bot in a private channel so strangers cannot run remote commands.
- Set up the webhook first, in Discord and then in Revolution. You can set up a bot afterward only if you also want remote start, pause, or stop.
- Webhook covers status and hourly reports. Bot is optional and adds remote commands.
- Treat webhook URLs and bot tokens like passwords. Do not paste them in public chats.
Set up Discord for webhooks
Section titled “Set up Discord for webhooks”Use one private server for macro reports. These steps create the channel and webhook URL you paste into Revolution later.
-
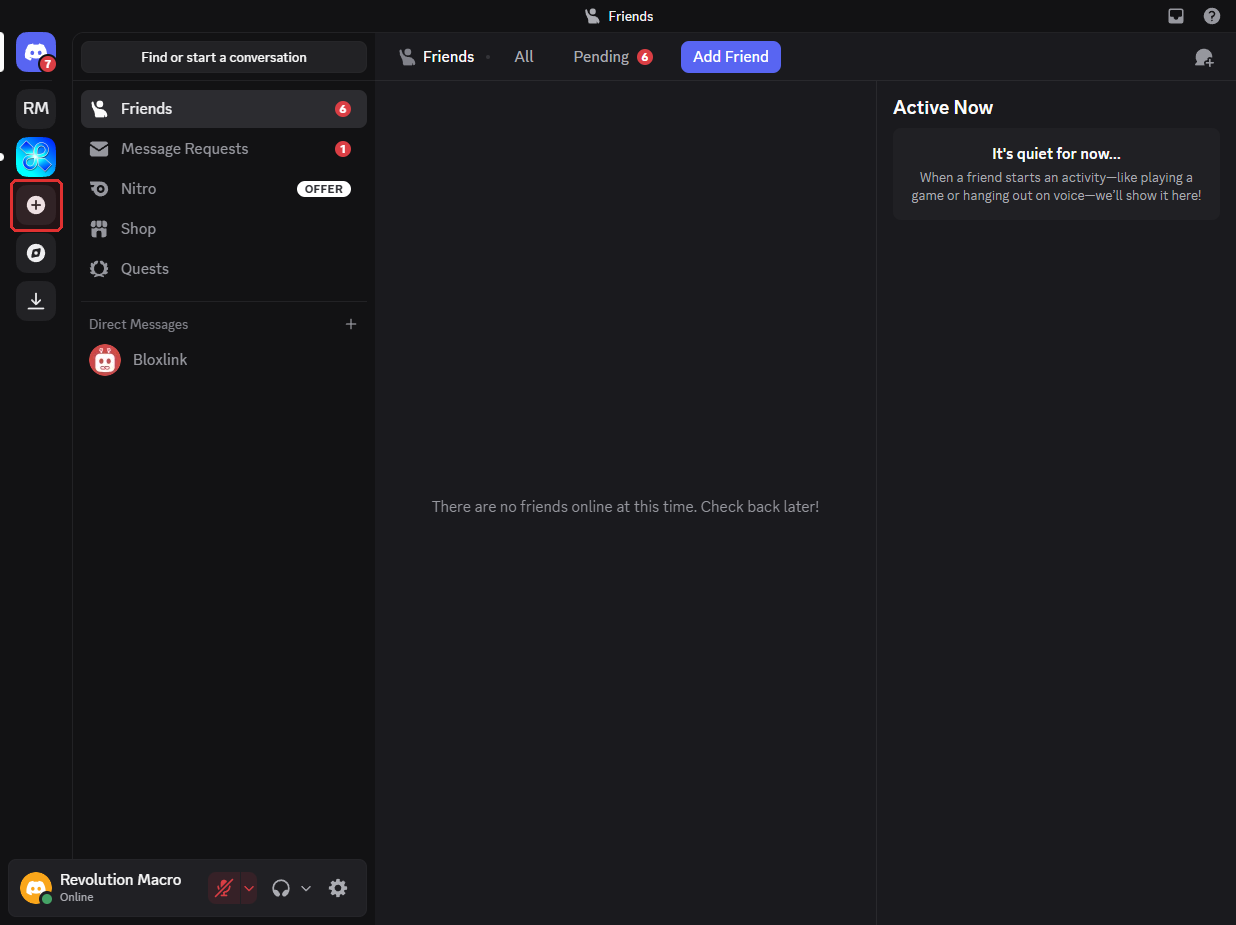
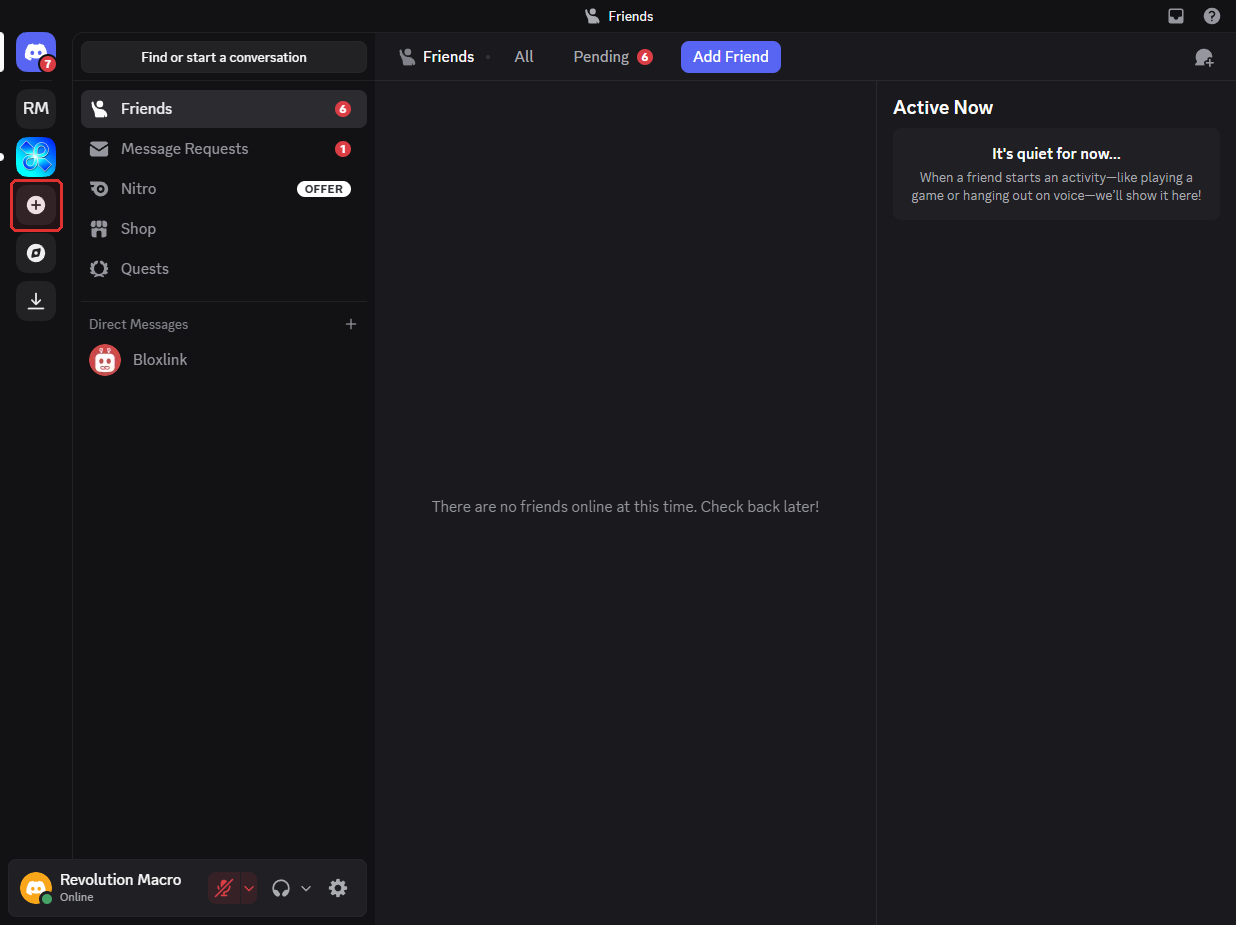
In Discord, click the + in the left server list.
-
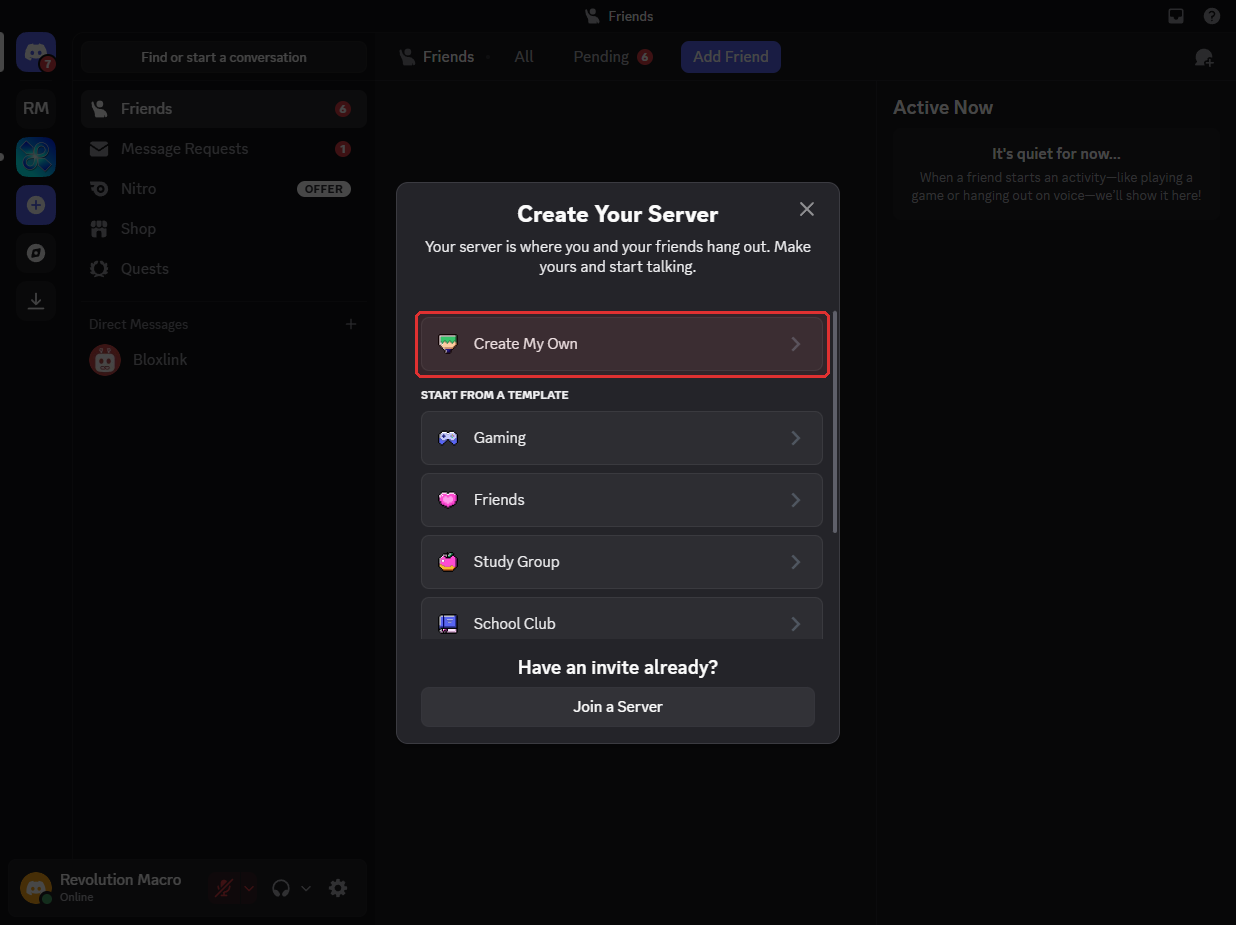
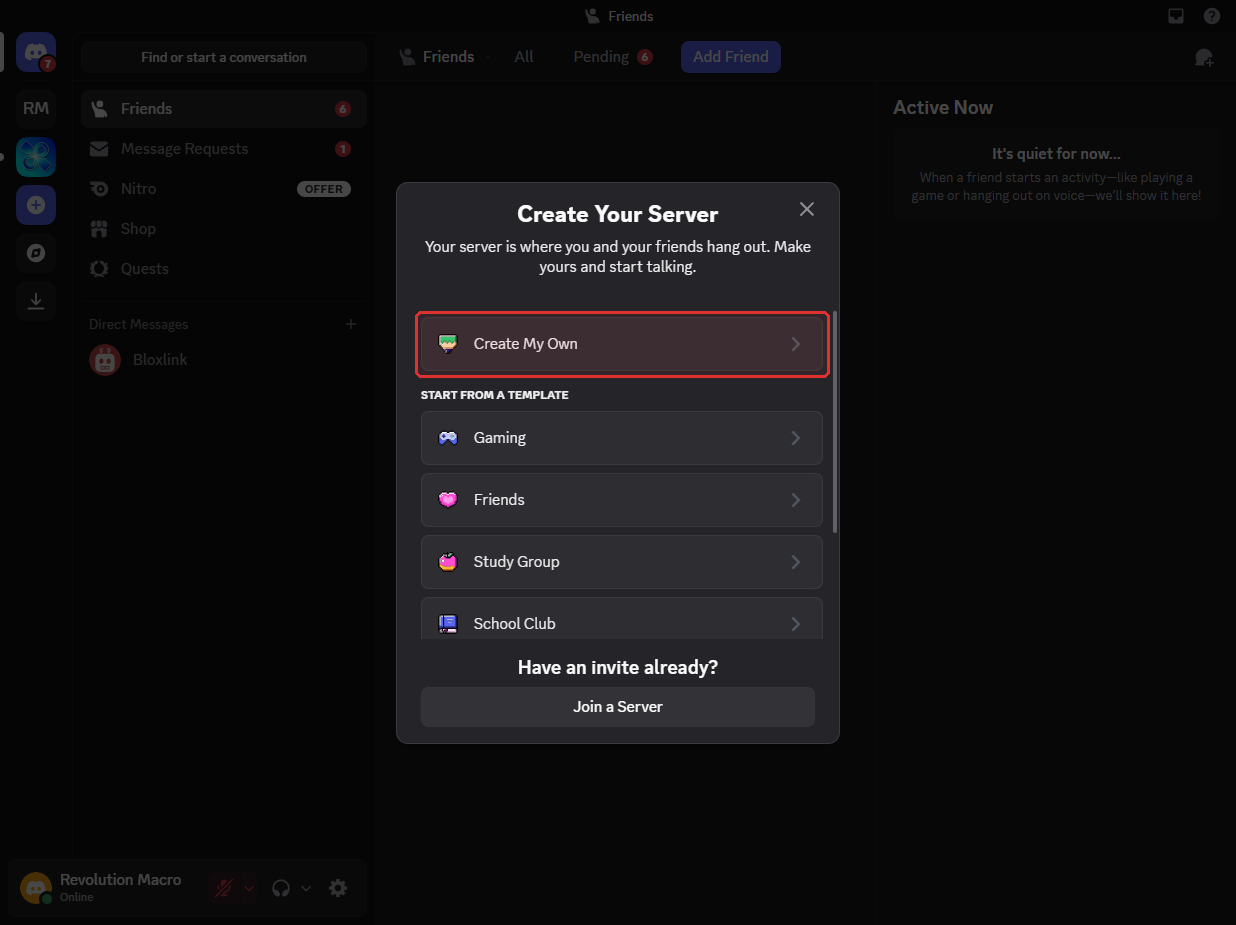
Choose Create My Own, then For me and my friends.
-
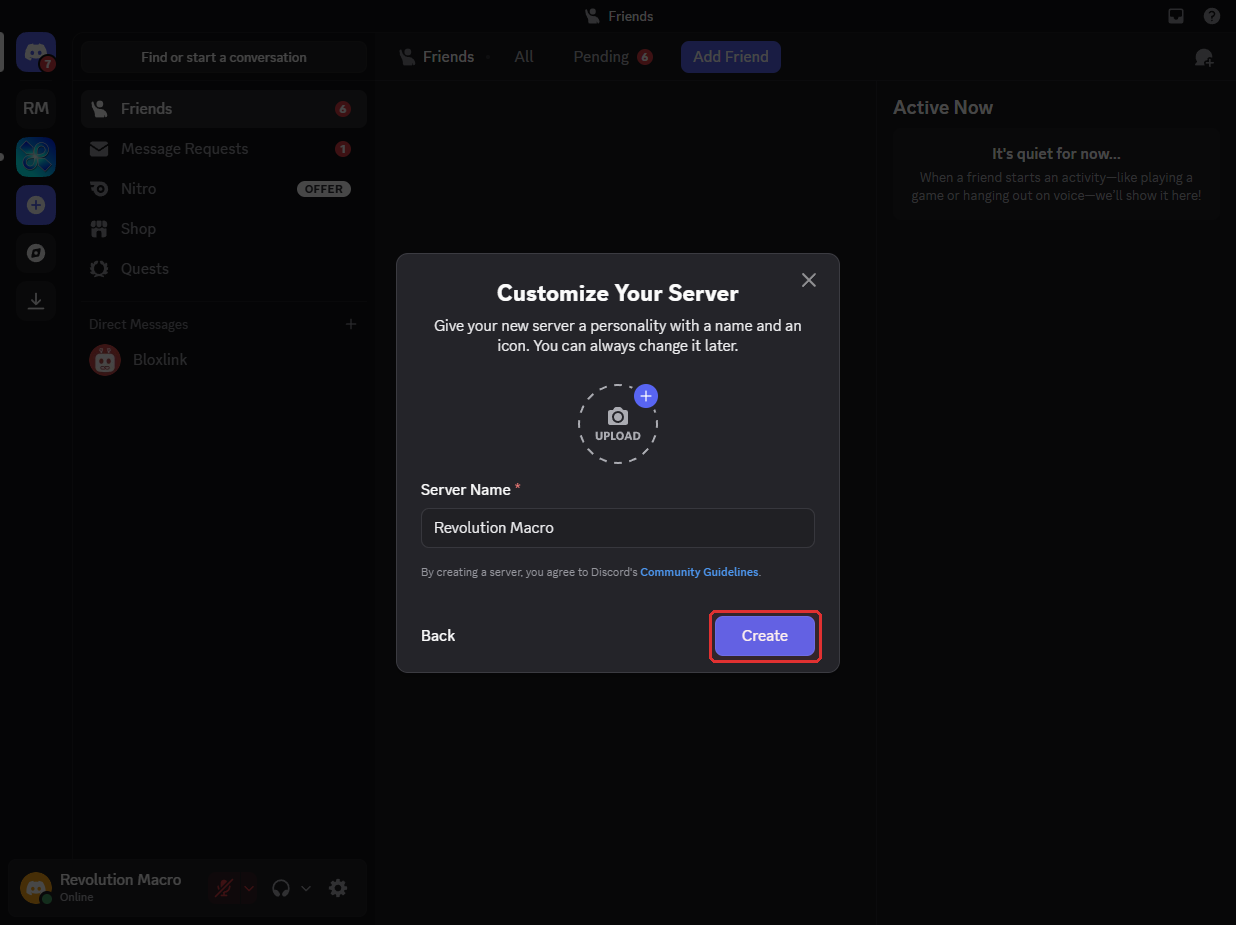
Name the server (for example
Revolution Macro) and click Create.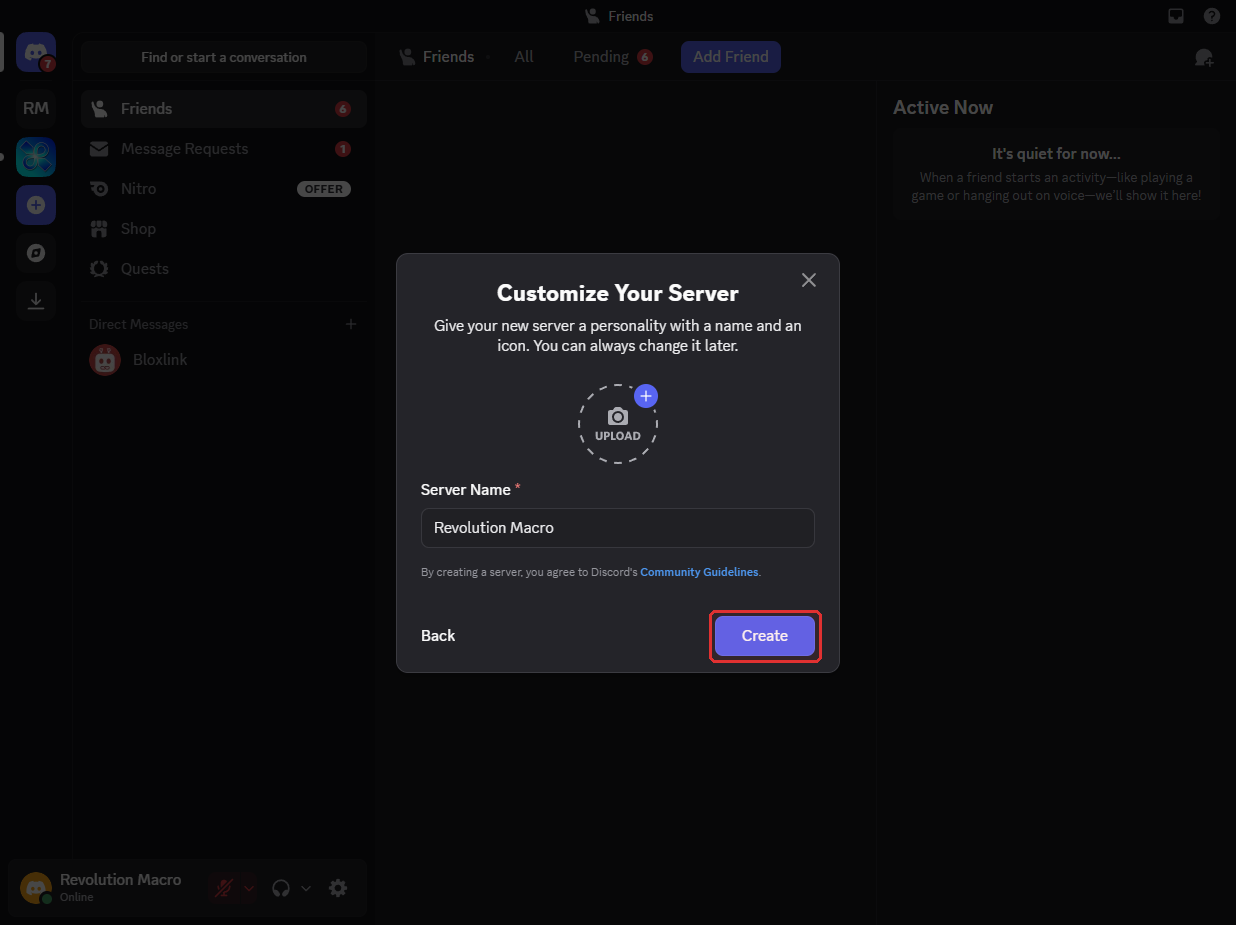
-
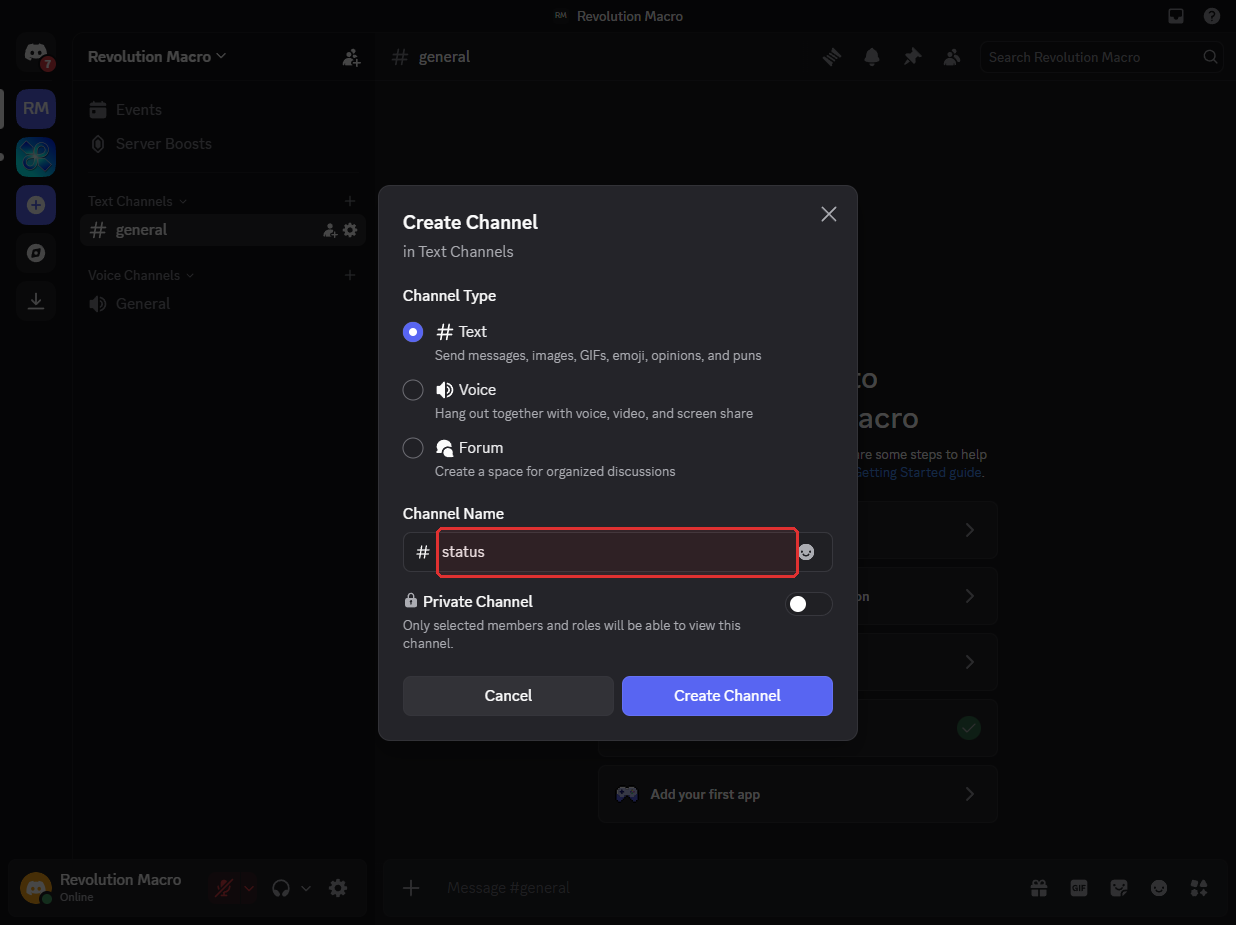
Add a text channel for macro reports. Click the + next to Text Channels (or rename the default
#generalchannel). Name it something likestatusso it shows as#status.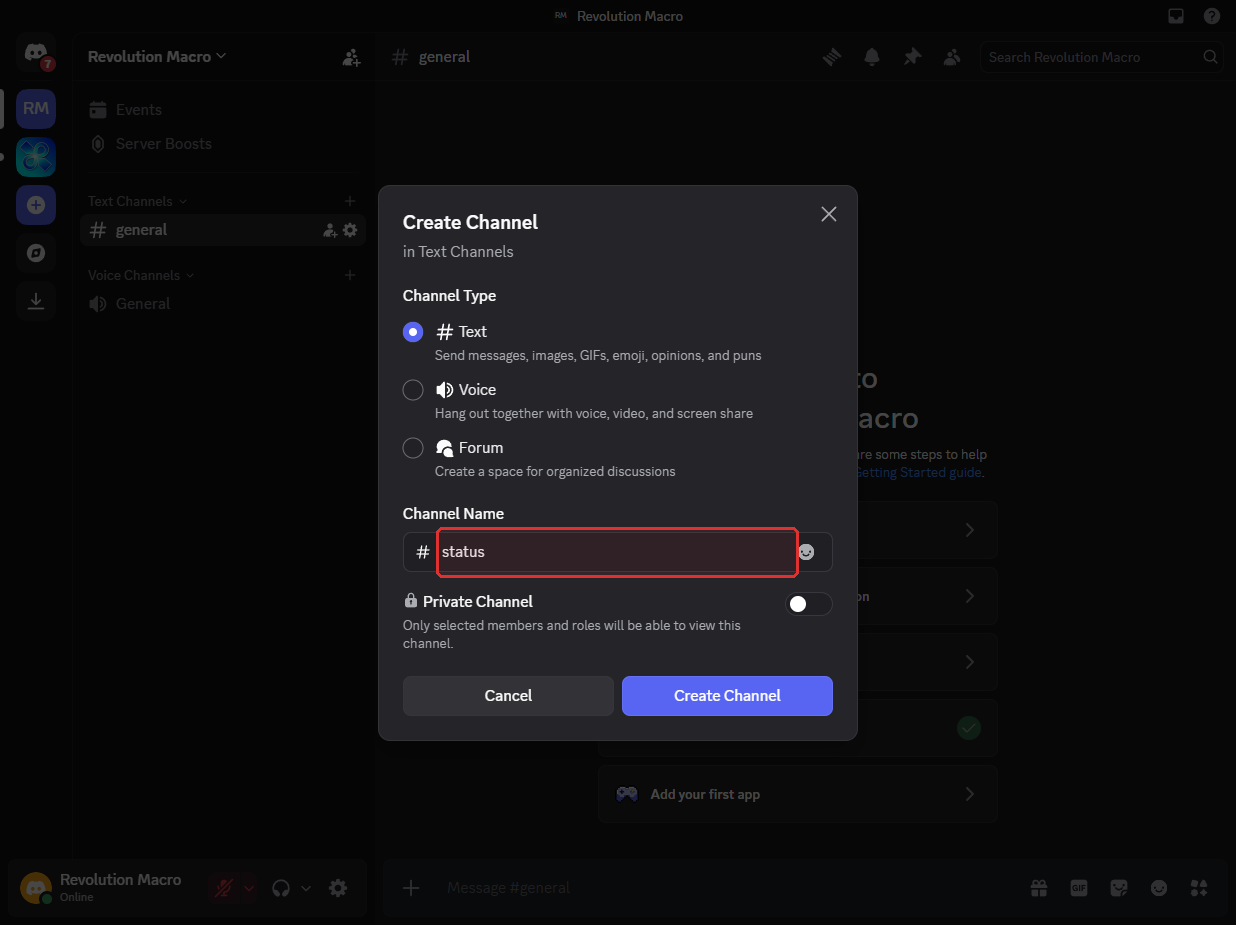
-
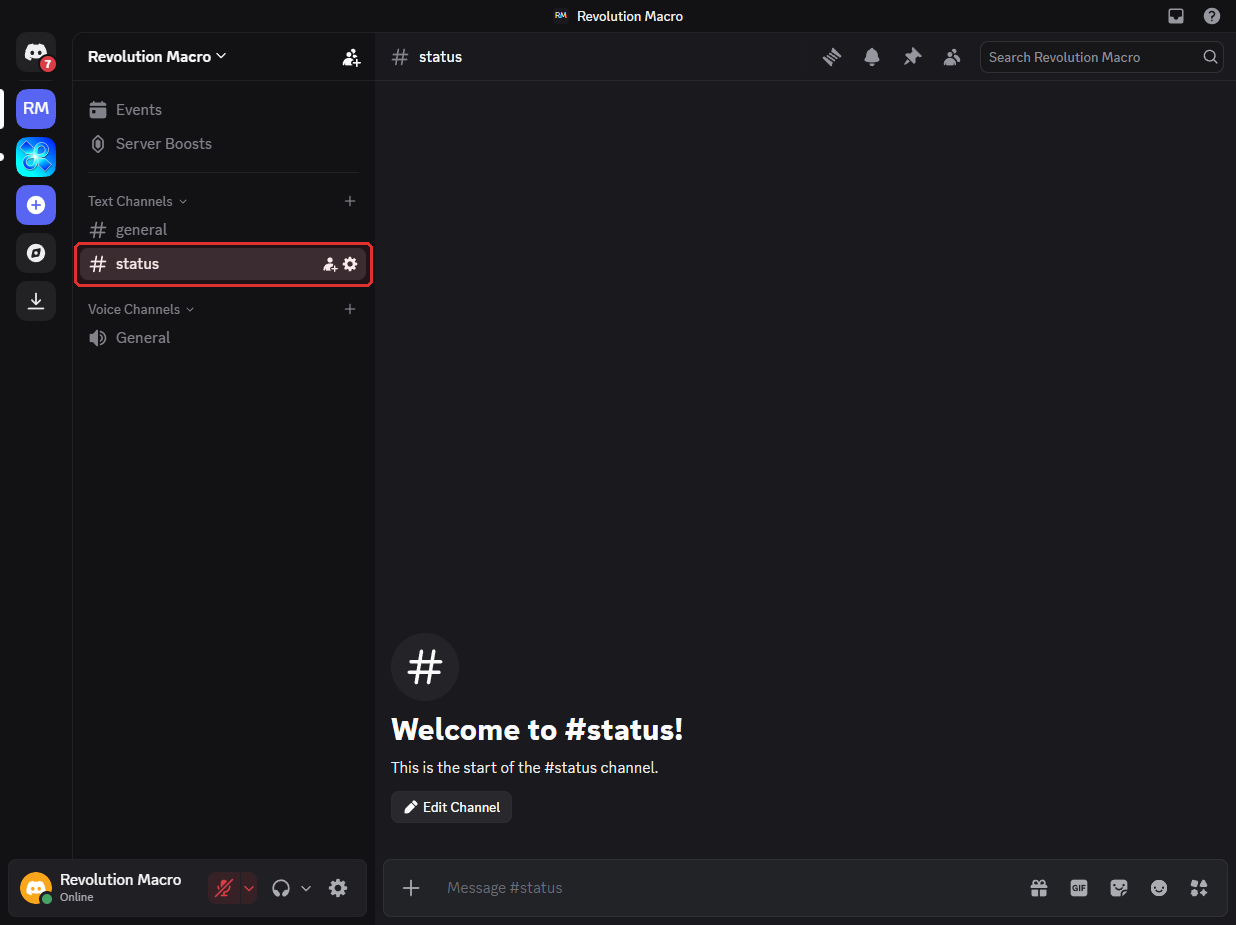
Click
#statusso it is selected in the channel list.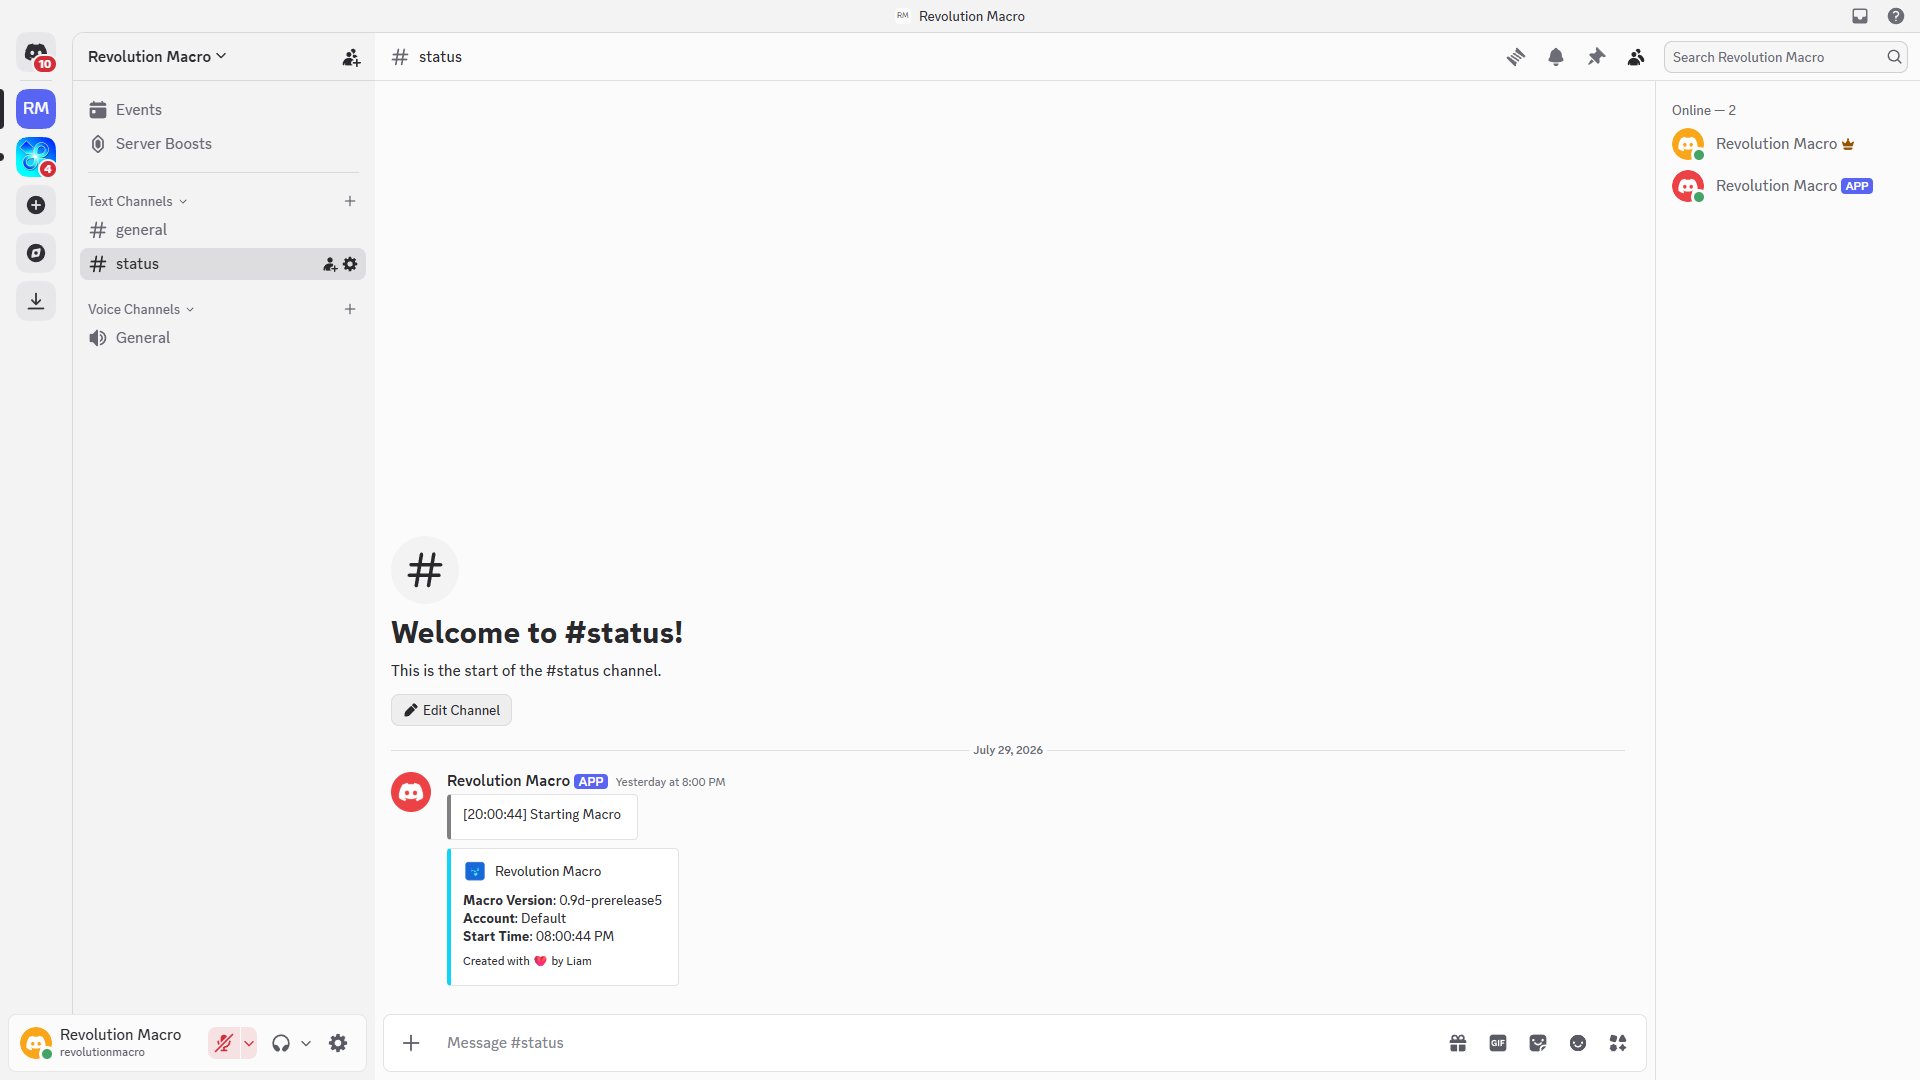
-
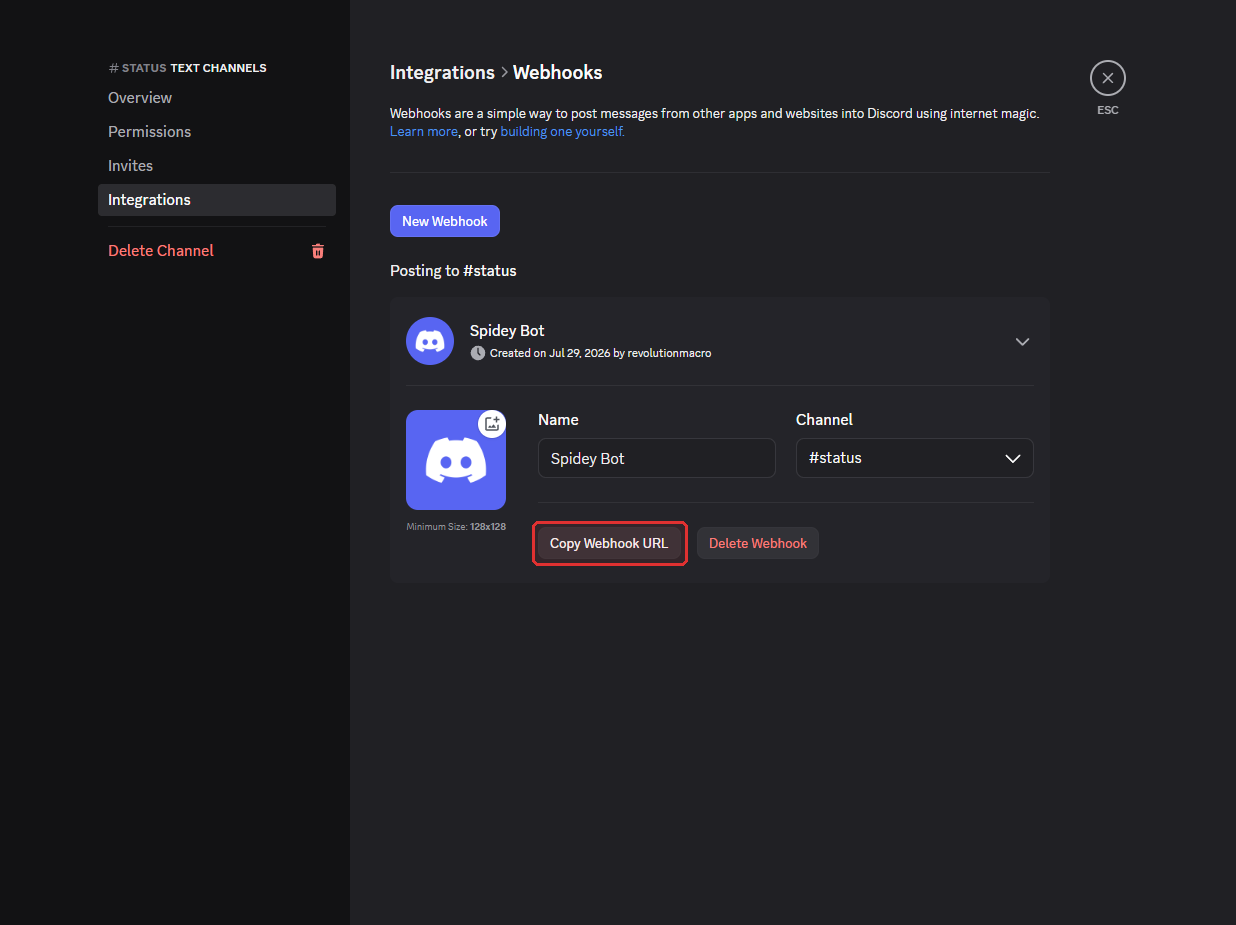
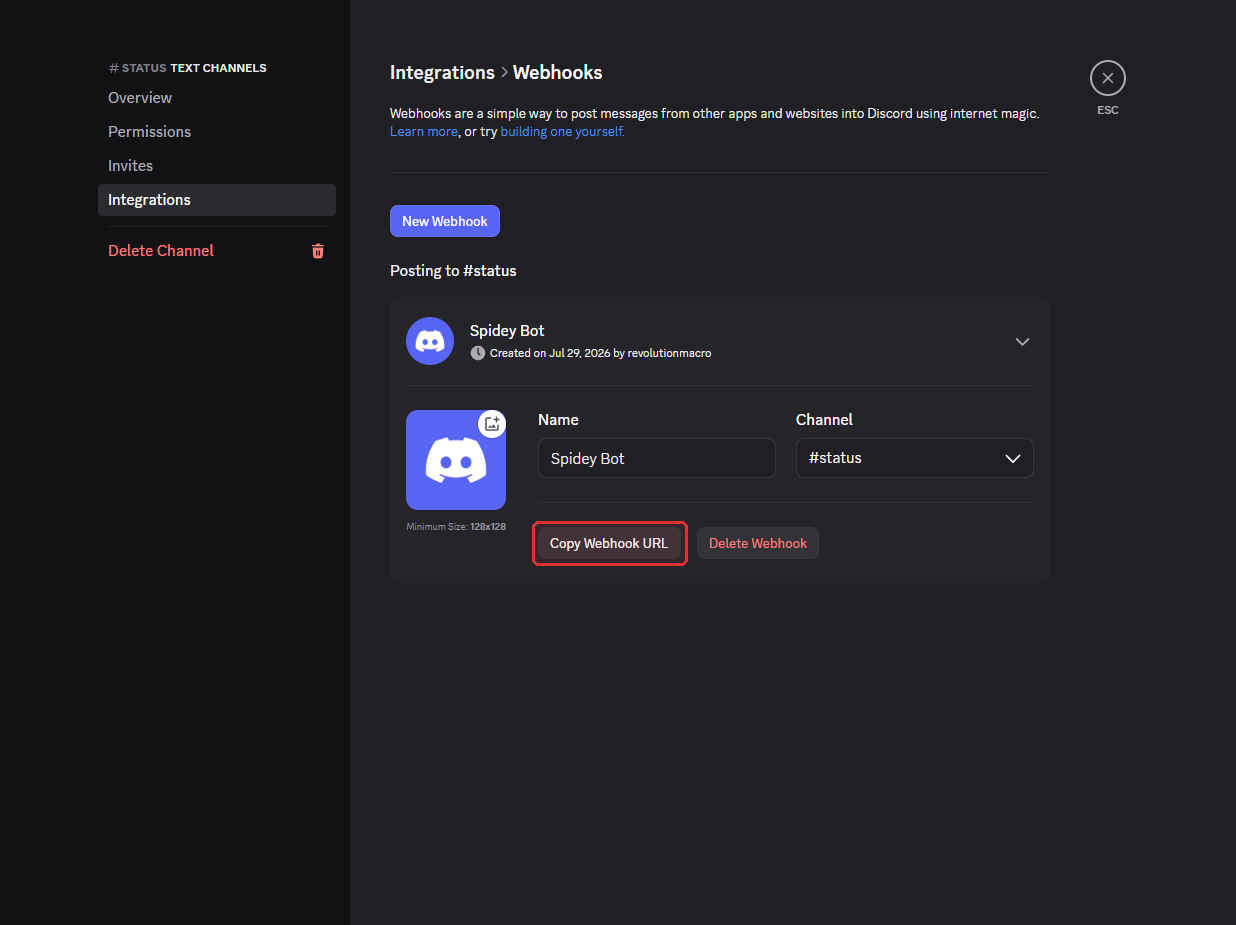
Open that channel’s settings. Go to Integrations → Webhooks → New Webhook (or Create Webhook). Set the name and channel, then click Copy Webhook URL.
Configure Status → Webhook in Revolution
Section titled “Configure Status → Webhook in Revolution”You’ve got the webhook URL on your clipboard. Paste it into Revolution and start the macro to see your first report.
-
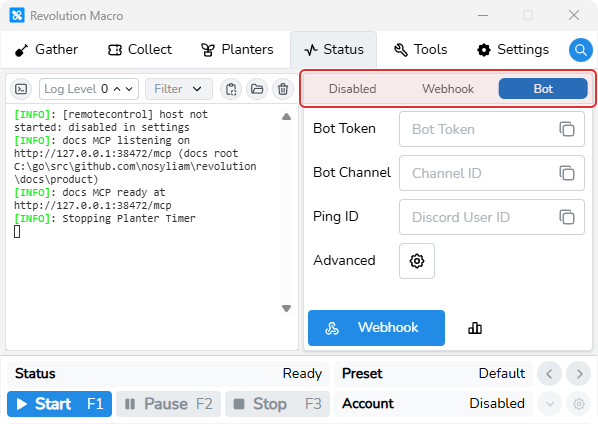
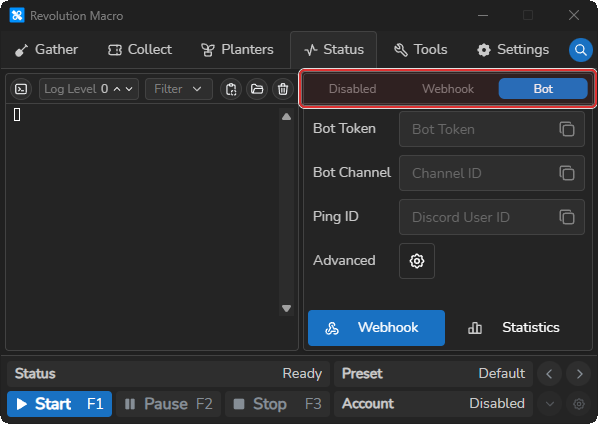
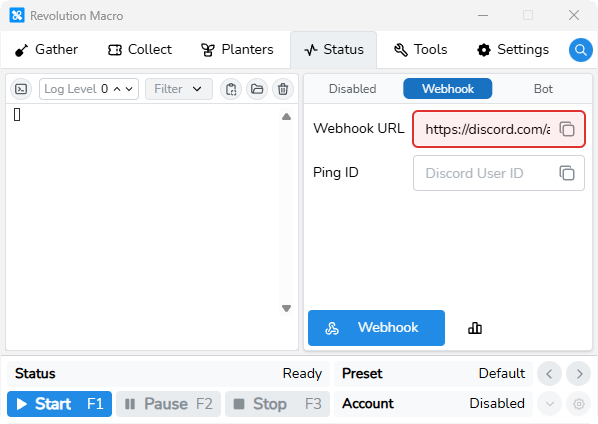
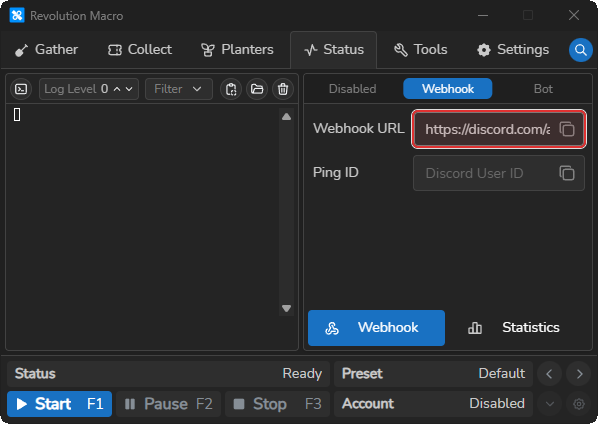
In Revolution, open Status → Webhook. The mode selector shows Disabled, Webhook, and Bot.
-
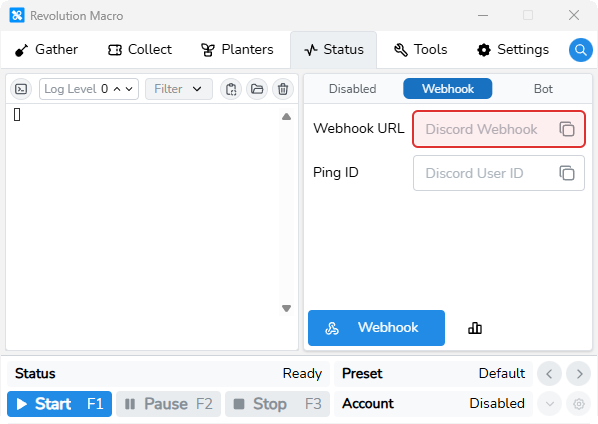
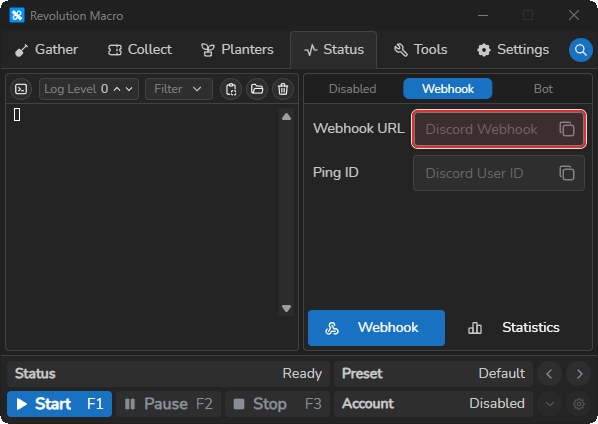
Select Webhook. Webhook URL and Ping ID appear, each with a paste icon on the right.
-
Click the paste icon next to Webhook URL (or paste into the field) so the URL from Discord is filled in. Mask the URL if you share a screenshot.
-
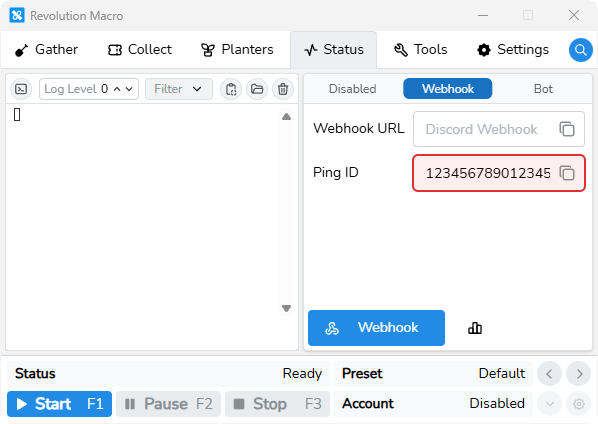
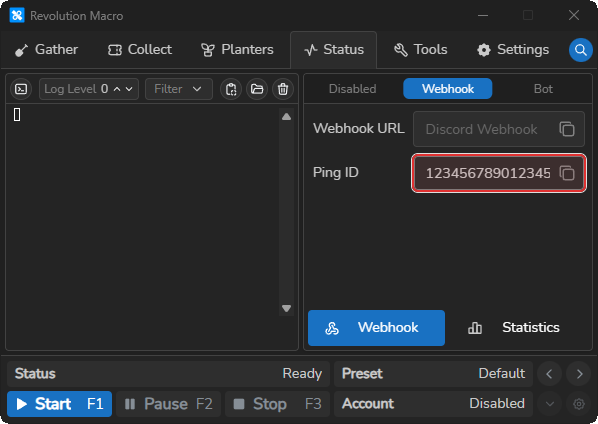
Optional: with Developer Mode on in Discord, right-click your username and choose Copy User ID. Click the paste icon next to Ping ID so disconnect and error messages can mention you.
-
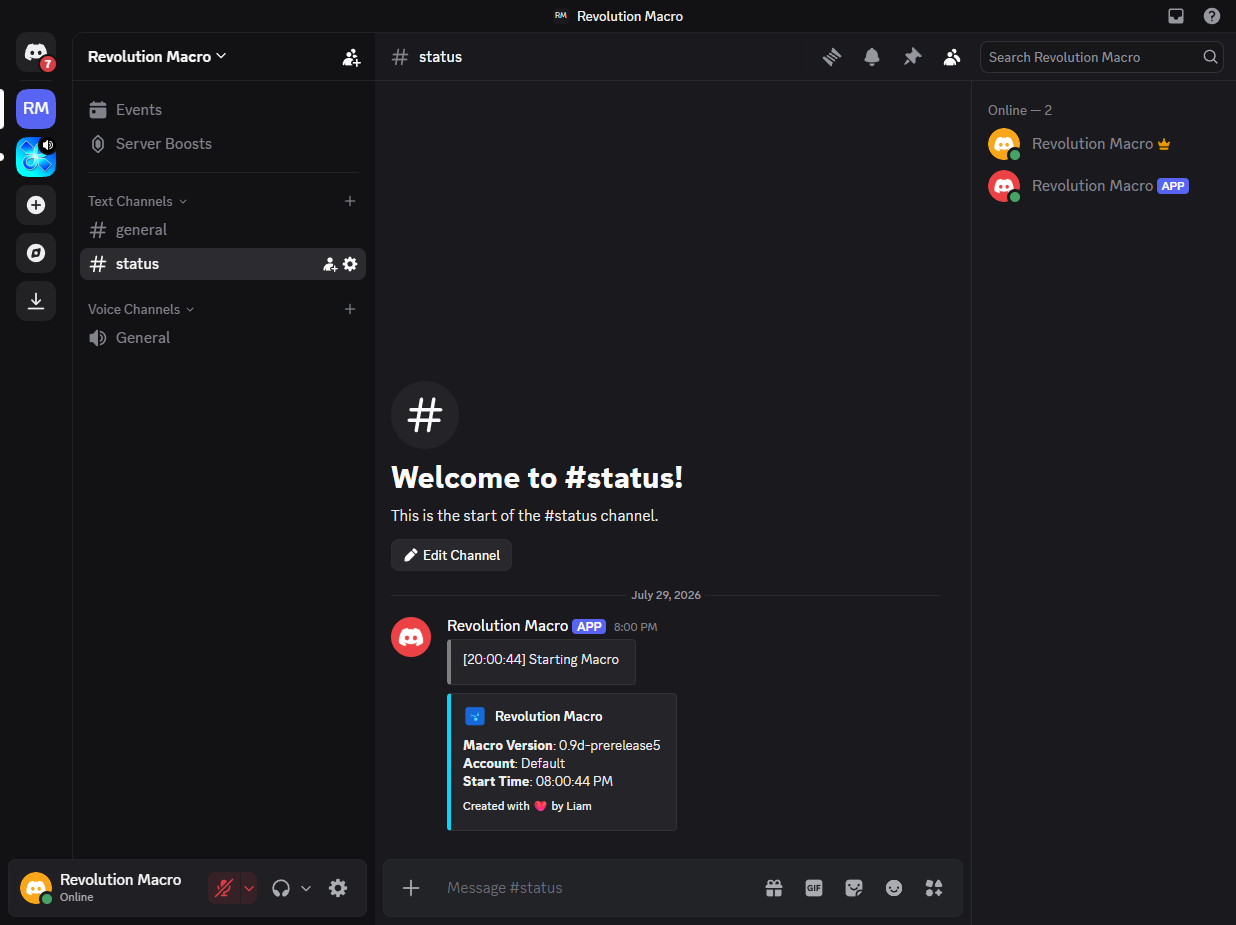
Start the macro. Discord shows a Revolution Macro startup embed with Macro Version, Account, and Start Time, and later posts
[HH:00:00] Hourly Reportwith the honey or buff graph.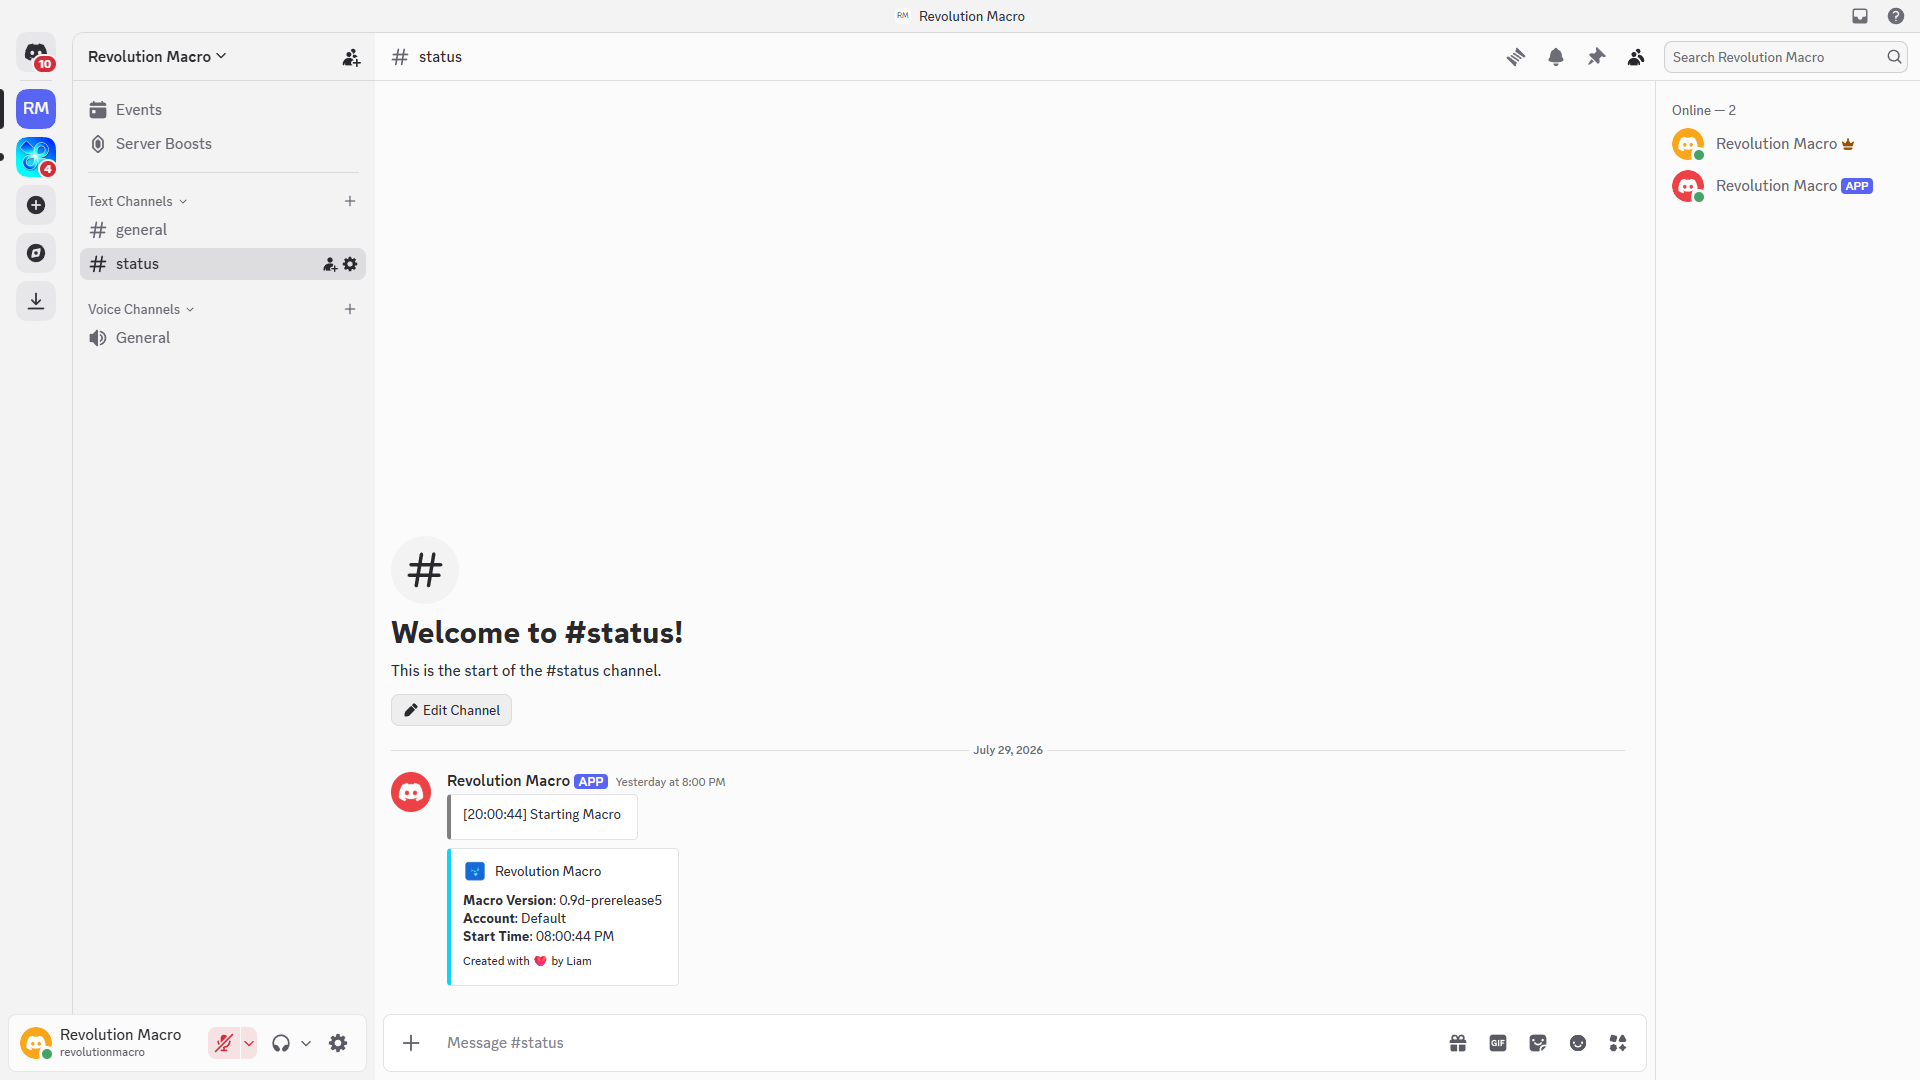
Add a Discord bot for remote control
Section titled “Add a Discord bot for remote control”Skip this section if you only need webhook reports. When you want remote start, pause, stop, or /help from Discord, create a bot app, invite it to the same private server, then paste its token and channel into Revolution. Anyone who can message the bot channel can run remote commands, so keep the bot on your private server.
-
In a browser, open the Discord Developer Portal. Click New Application, name it (for example
Revolution Macro), check the Developer Terms checkbox, and click Create.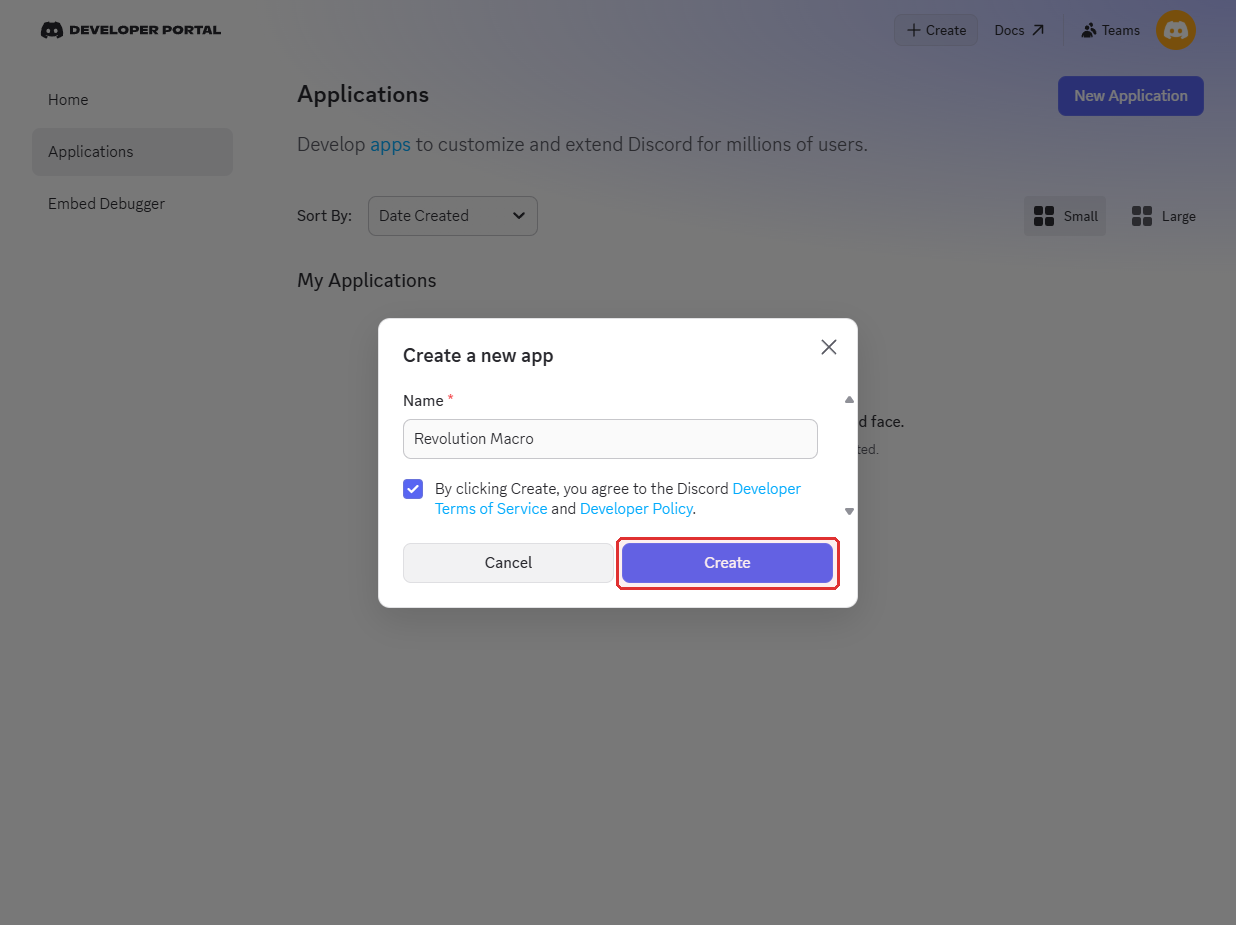
-
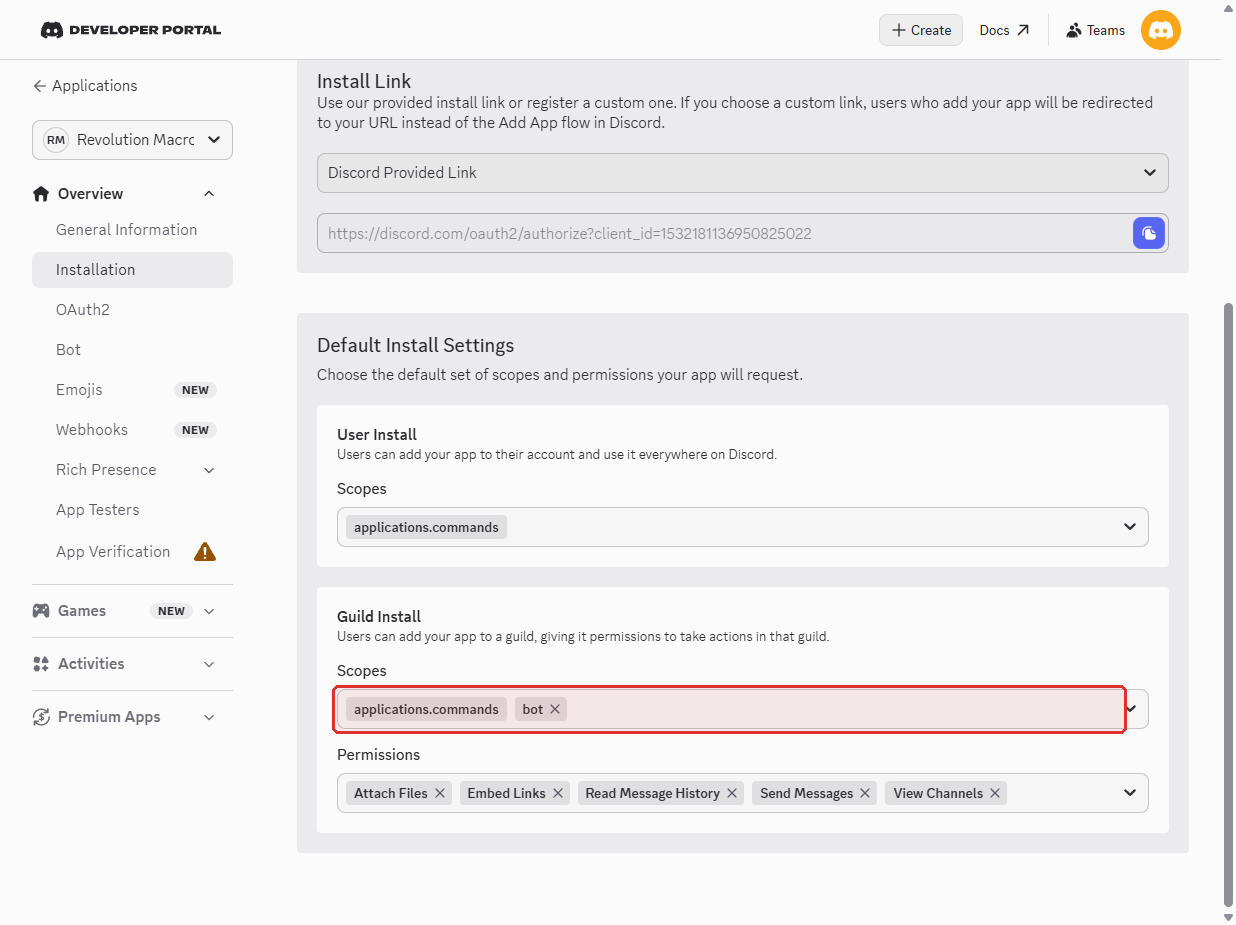
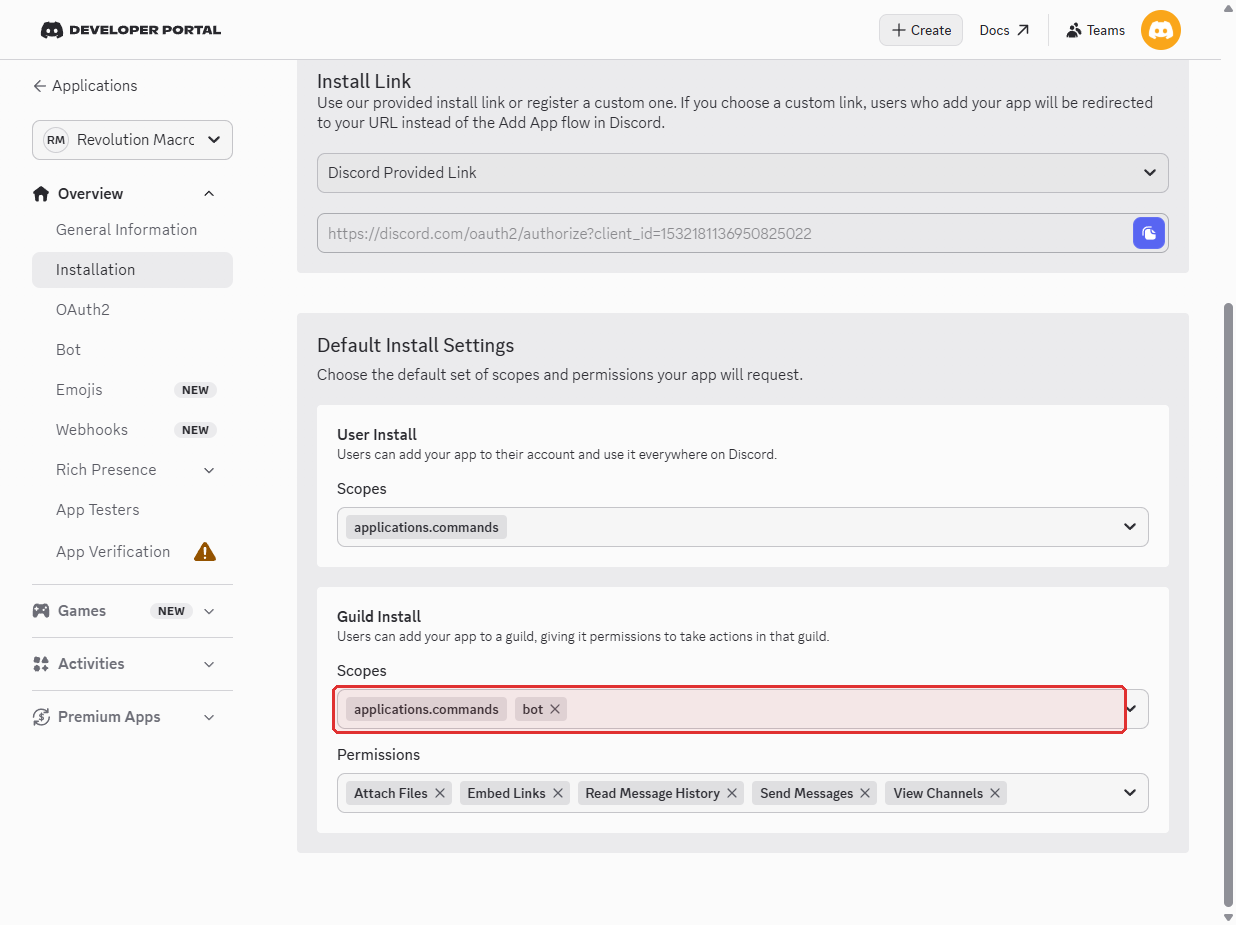
Open Installation. Under Default Install Settings → Guild Install, open Scopes and add bot (keep applications.commands if it is already listed).
-
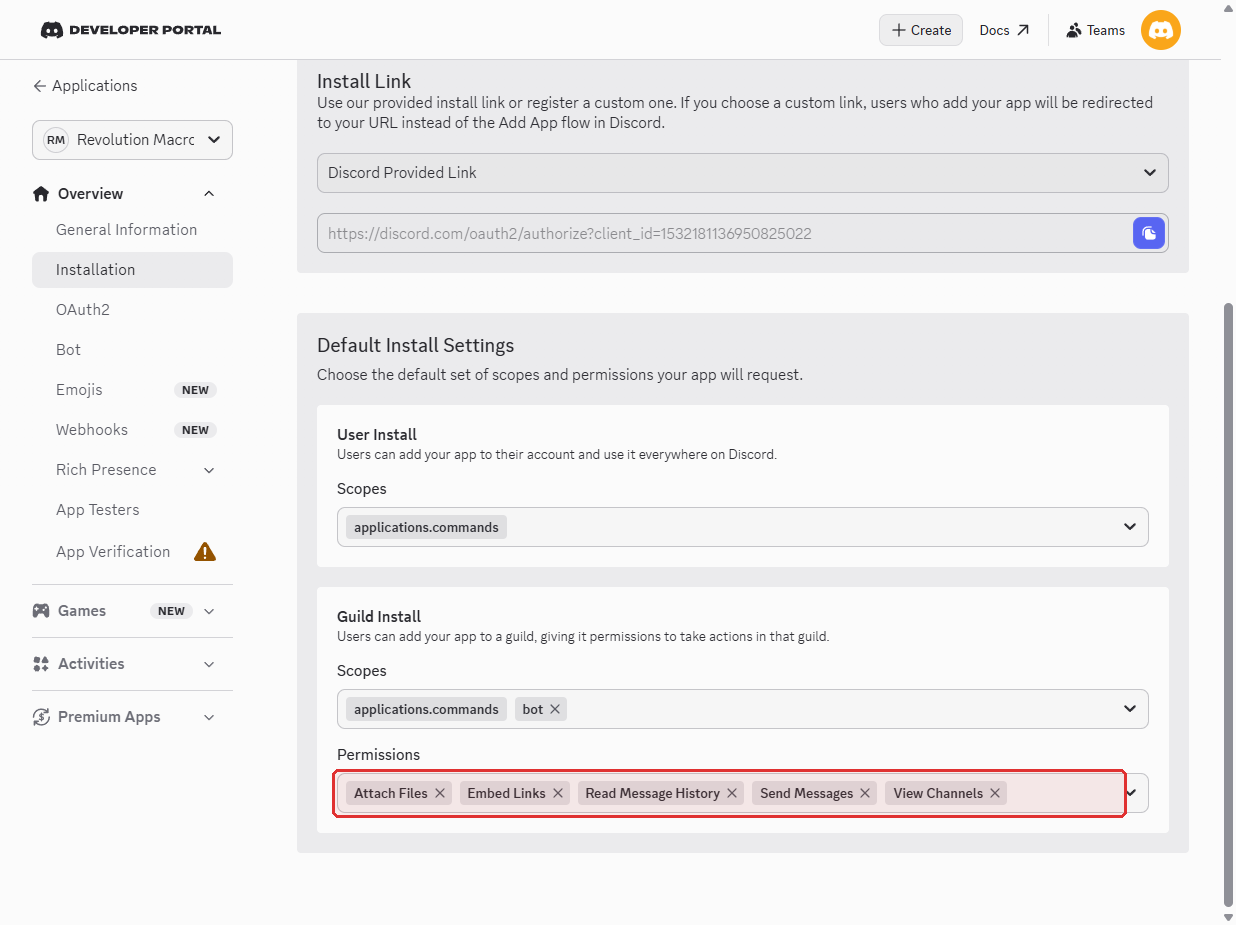
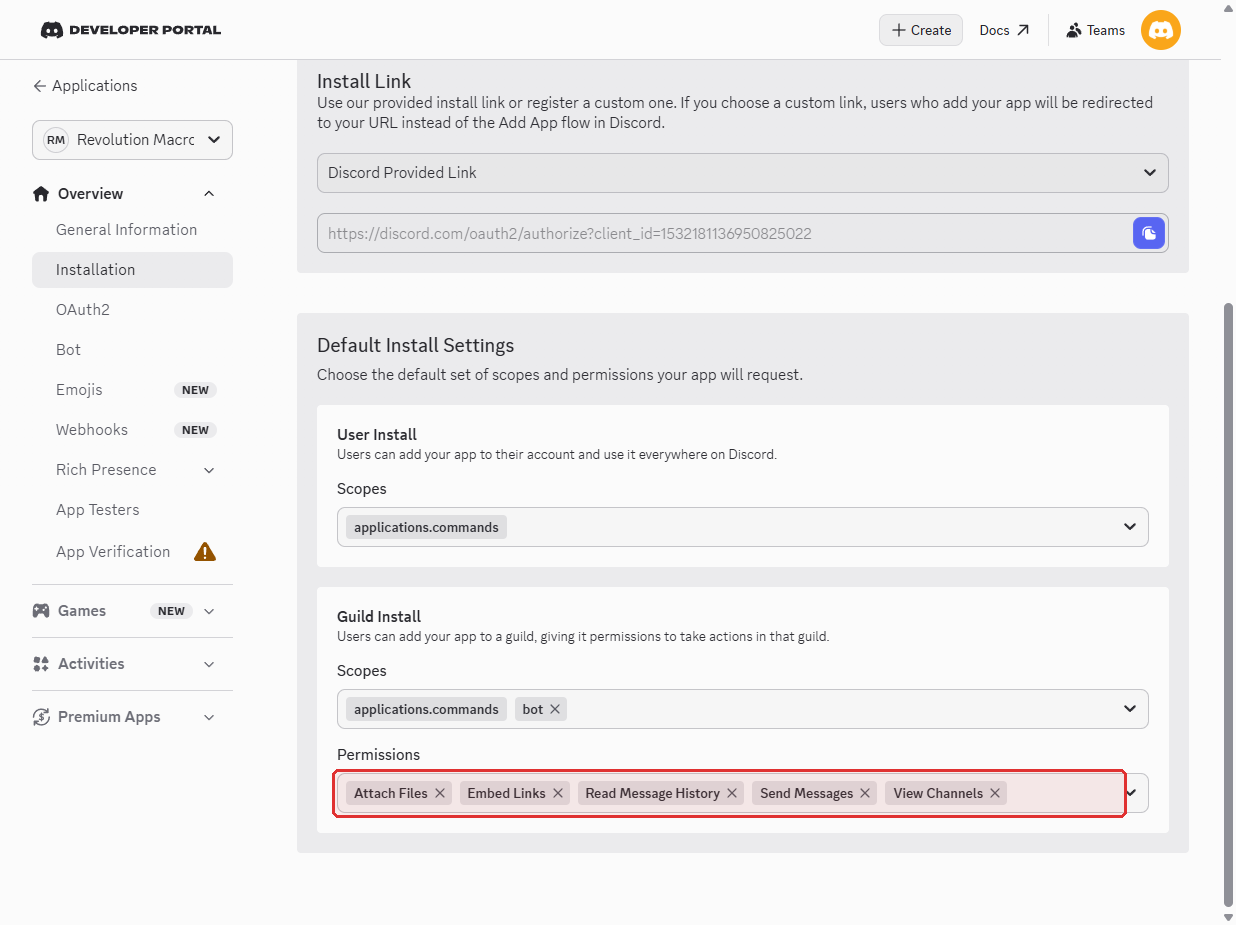
In Permissions, enable View Channels, Send Messages, Read Message History, Embed Links, and Attach Files. Click Save Changes if Discord shows it.
-
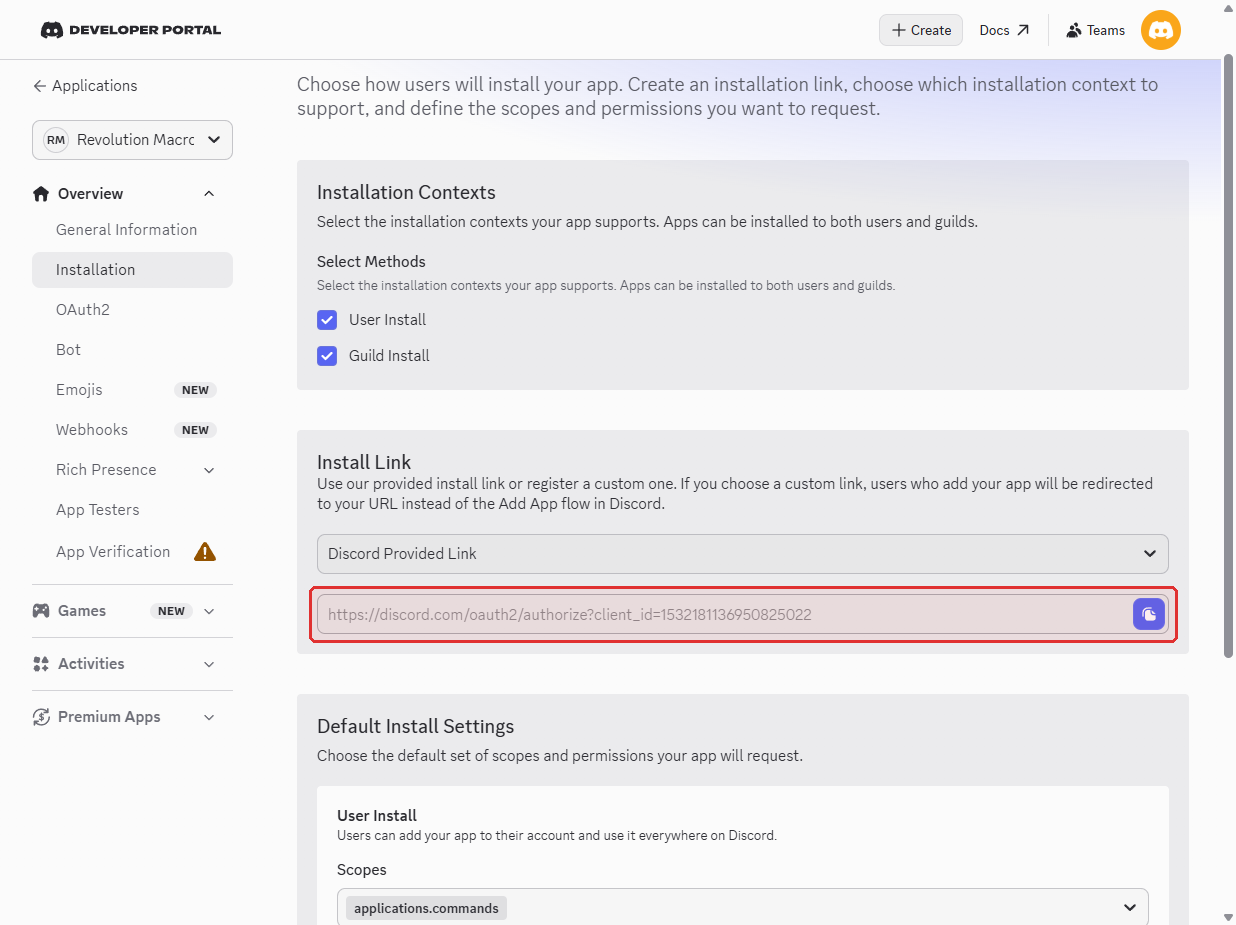
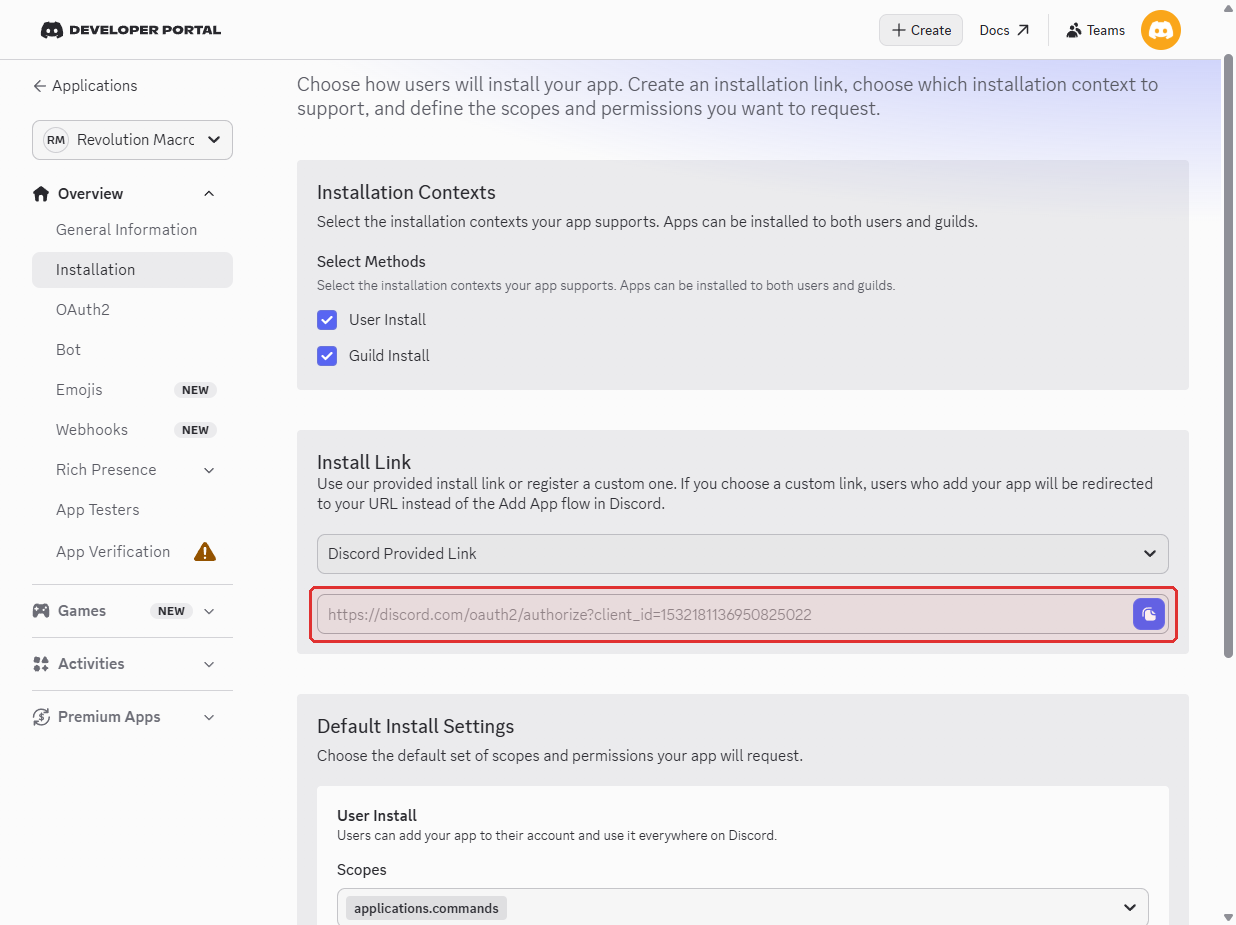
Copy the Install Link on the Installation page. Open it in a new tab, choose your private macro server, and authorize the bot.
-
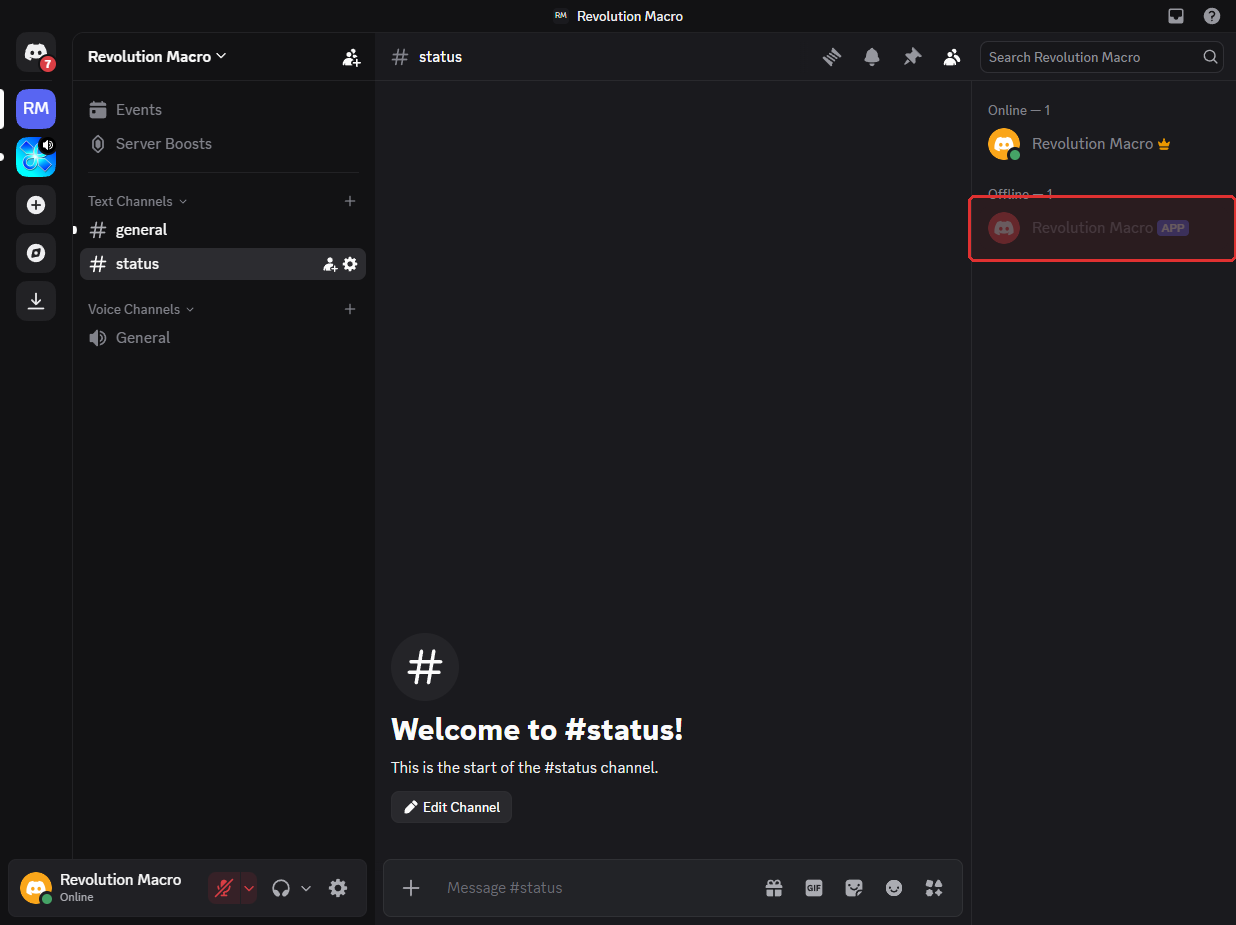
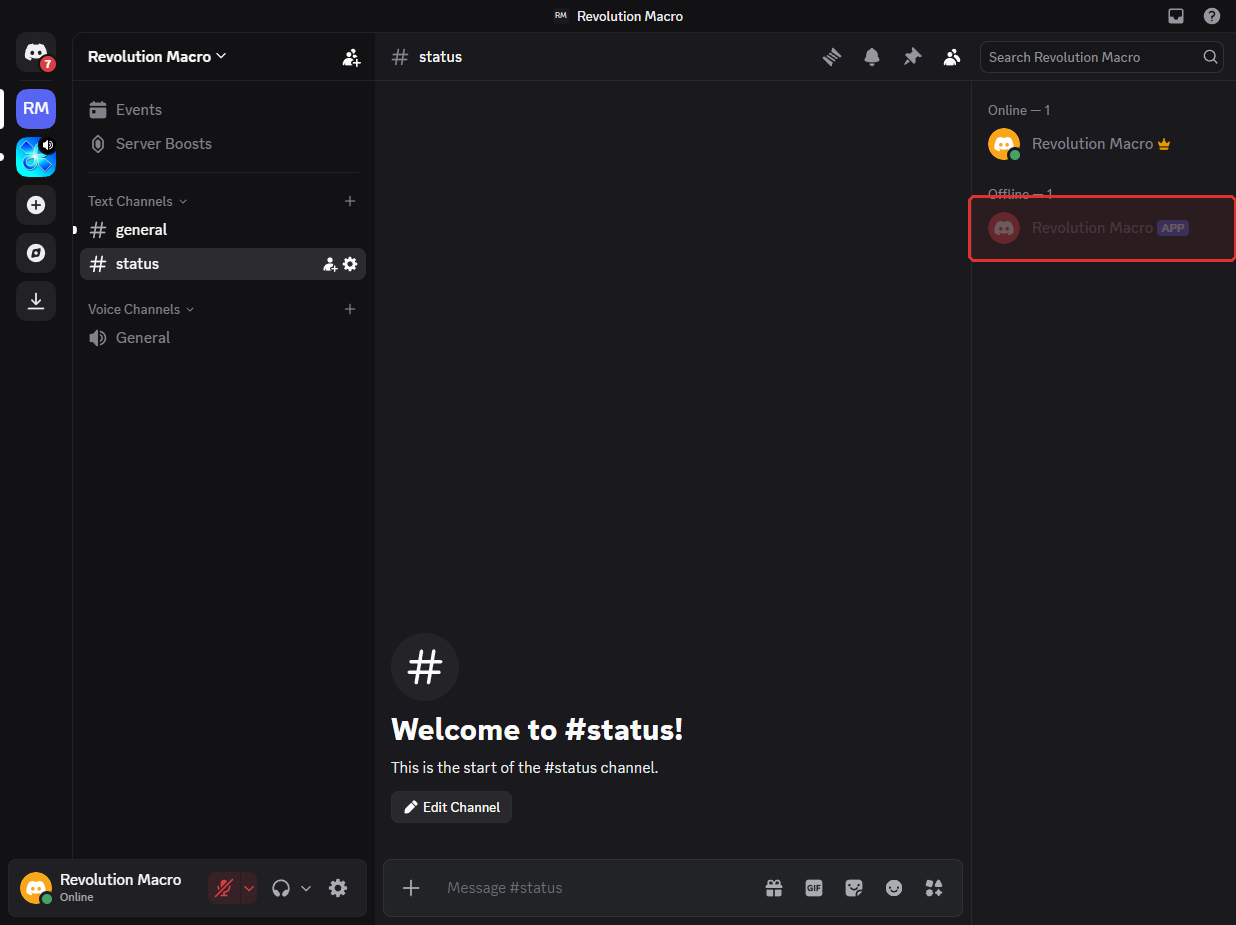
Back in Discord, open your server and confirm the bot appears in the member list.
-
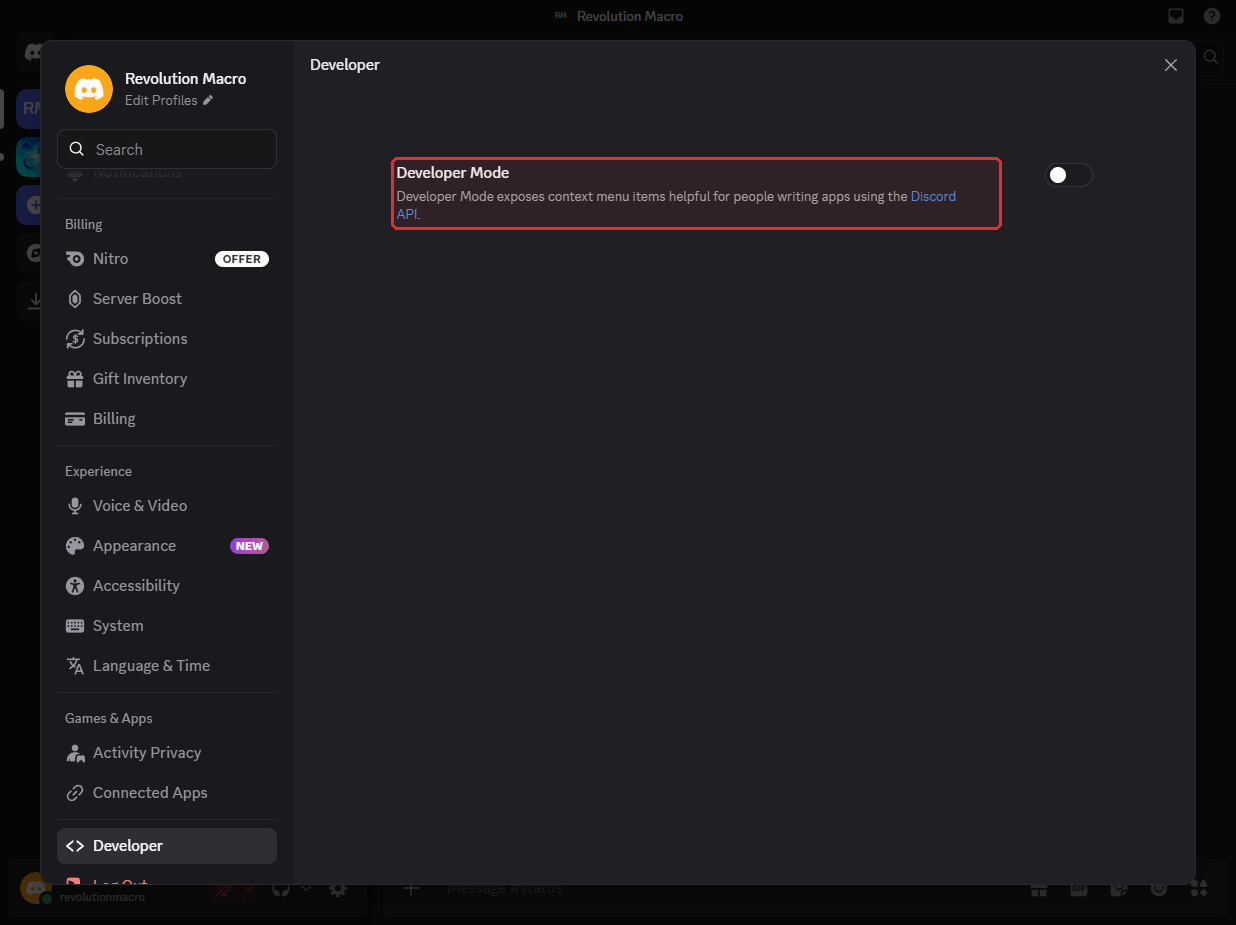
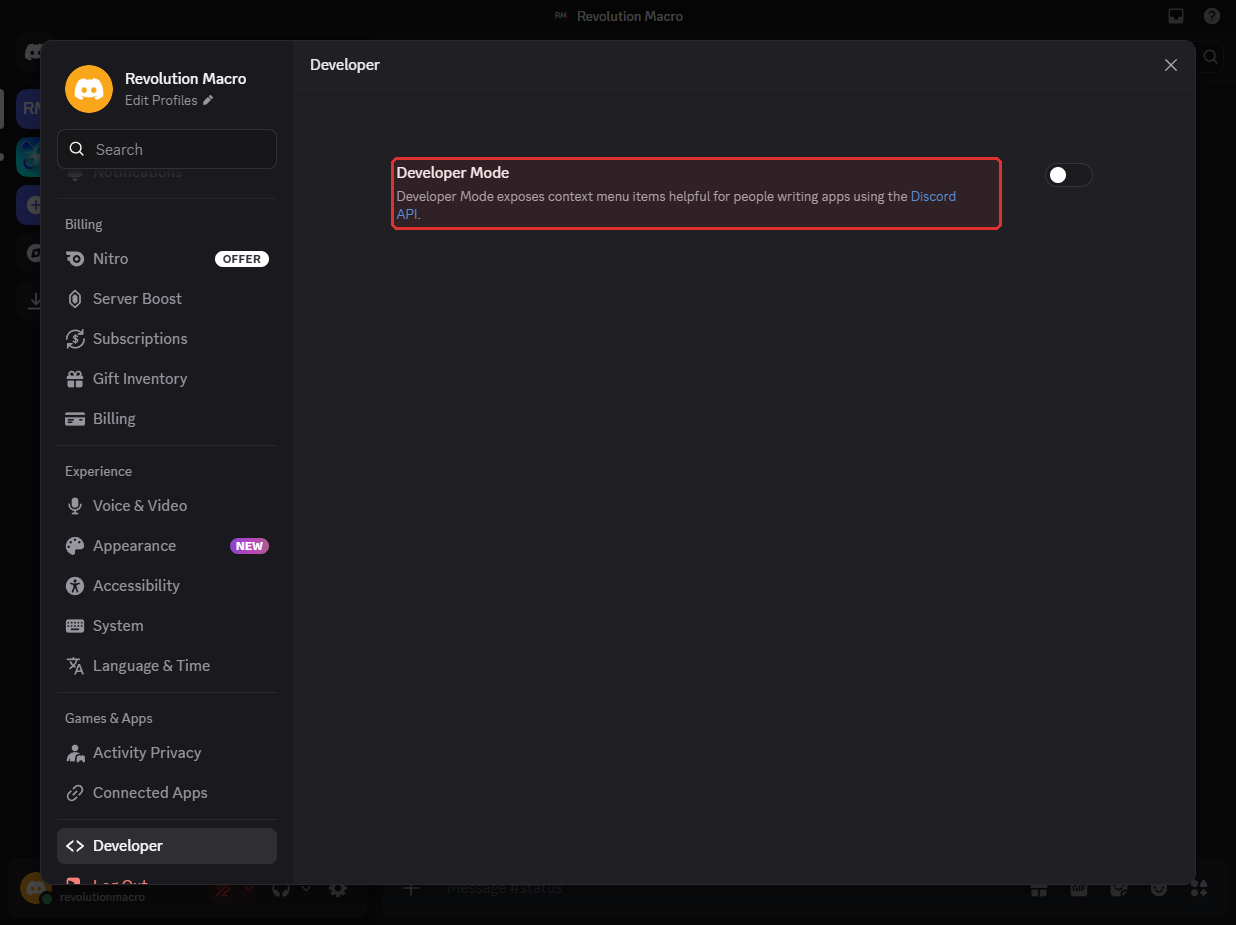
In Discord, open User Settings → Advanced and turn on Developer Mode (you need this for Copy Channel ID in step 9).
-
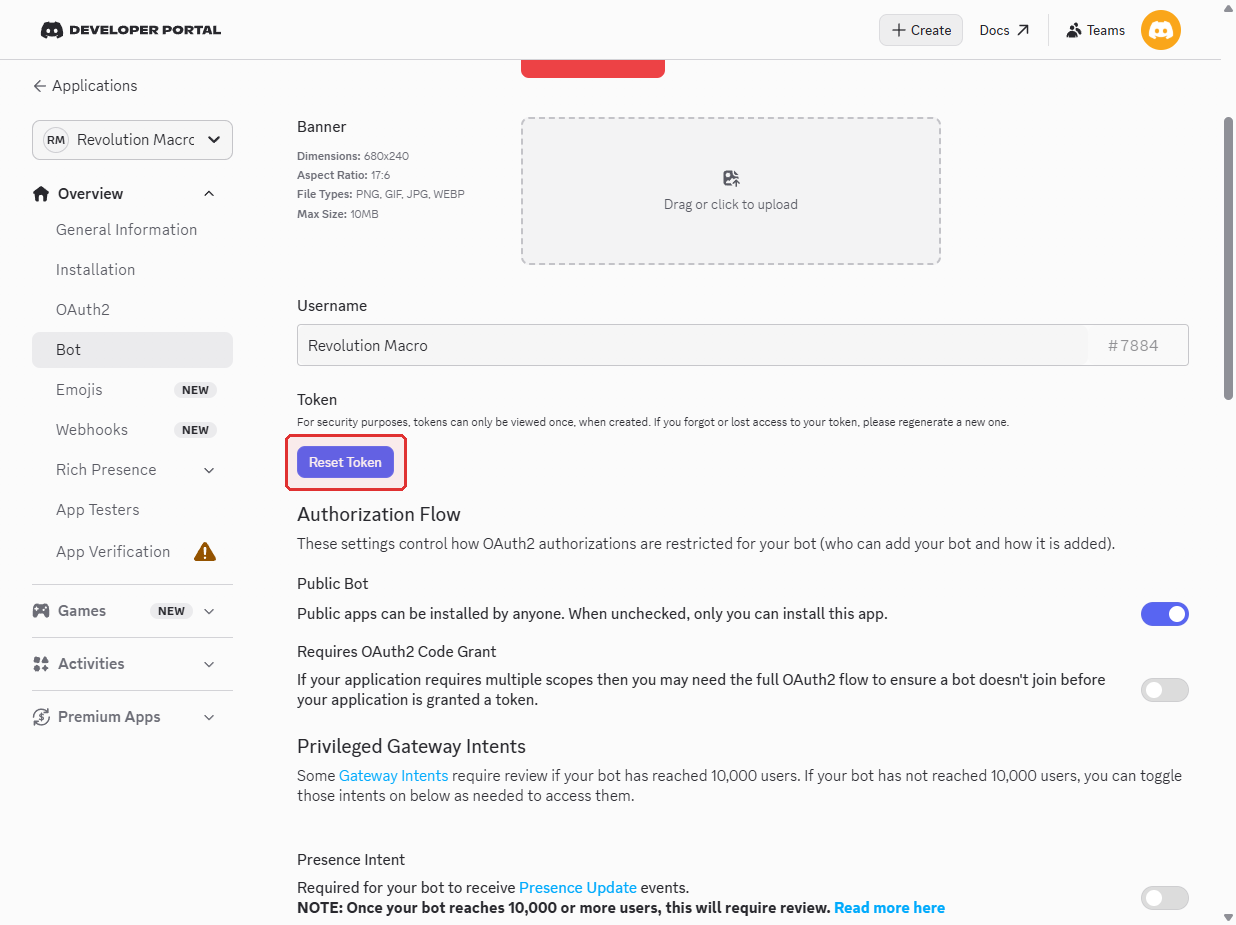
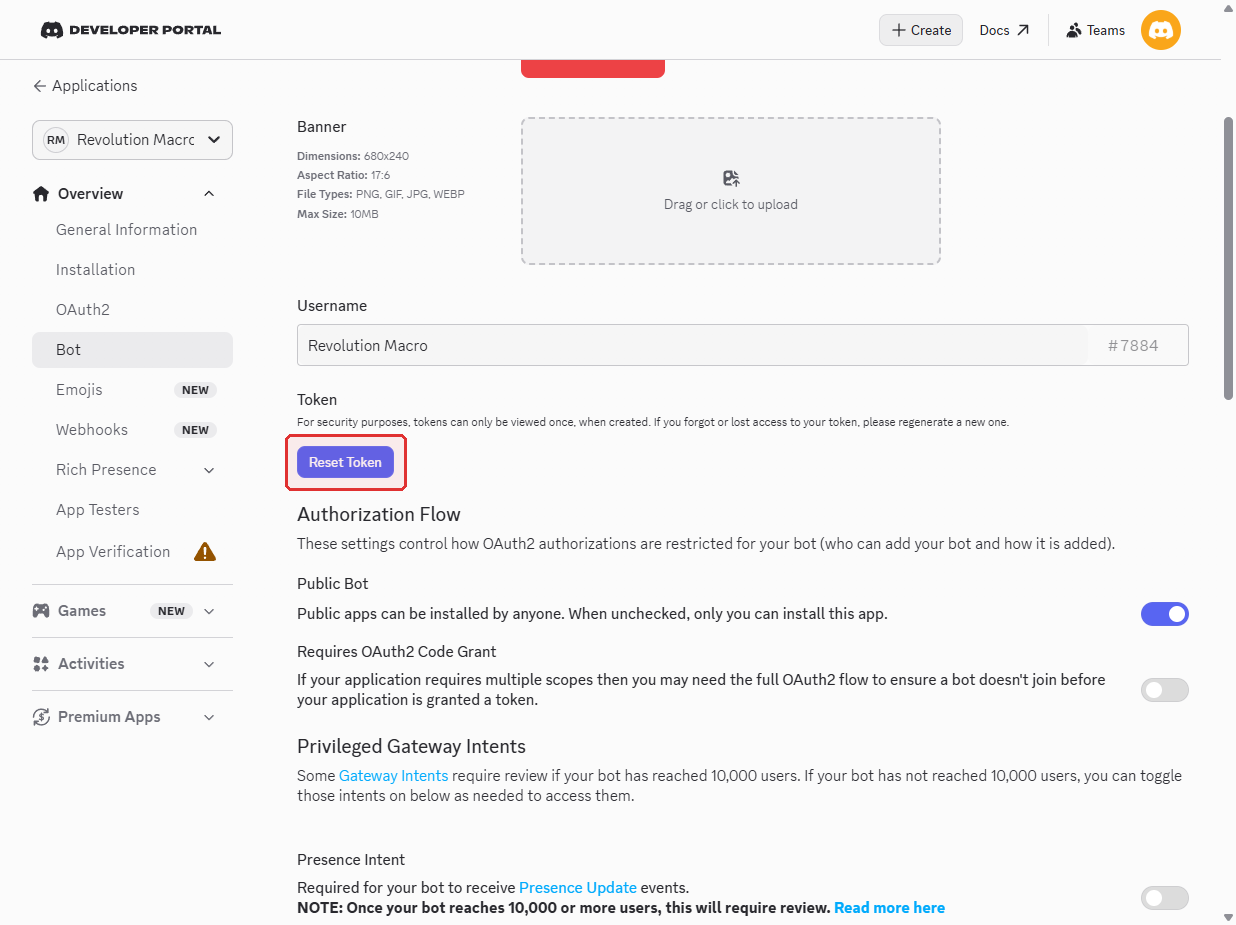
On the Developer Portal Bot tab, click Reset Token, confirm, and copy the token. Never share this token. You’ll paste it into Revolution in the next step.
-
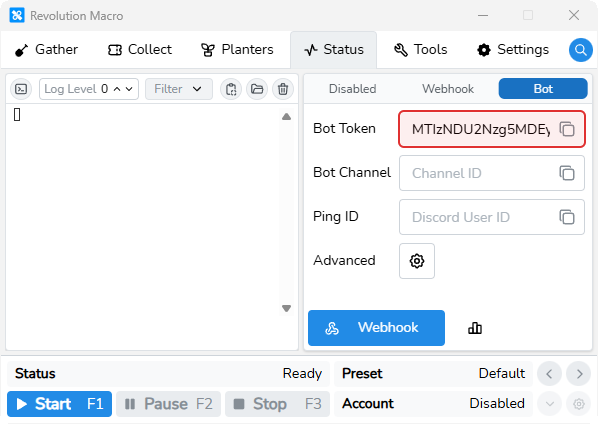
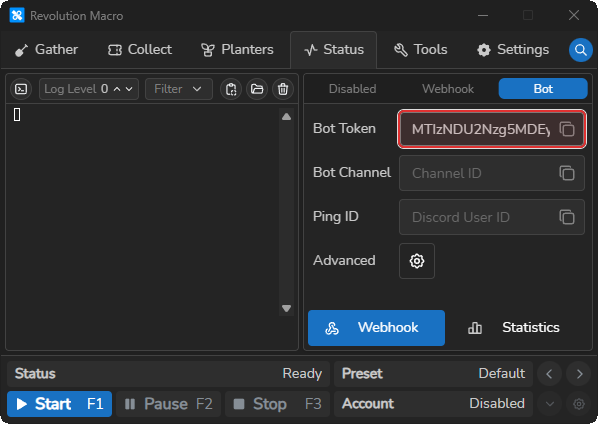
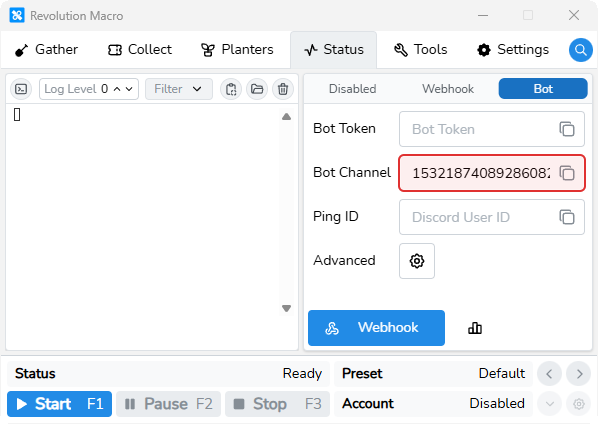
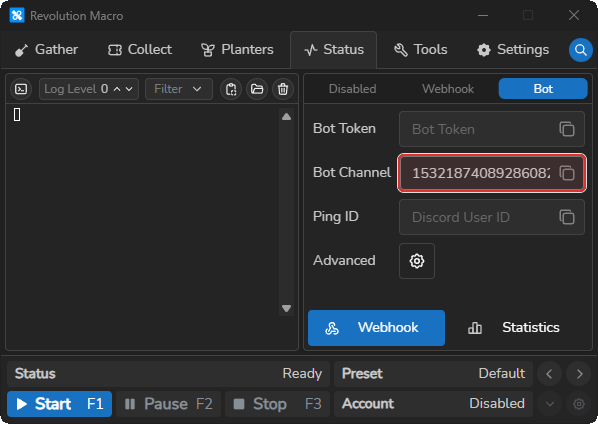
In Revolution, open Status → Webhook, select Bot, and click the paste icon next to Bot Token to paste the token while it is still on your clipboard.
-
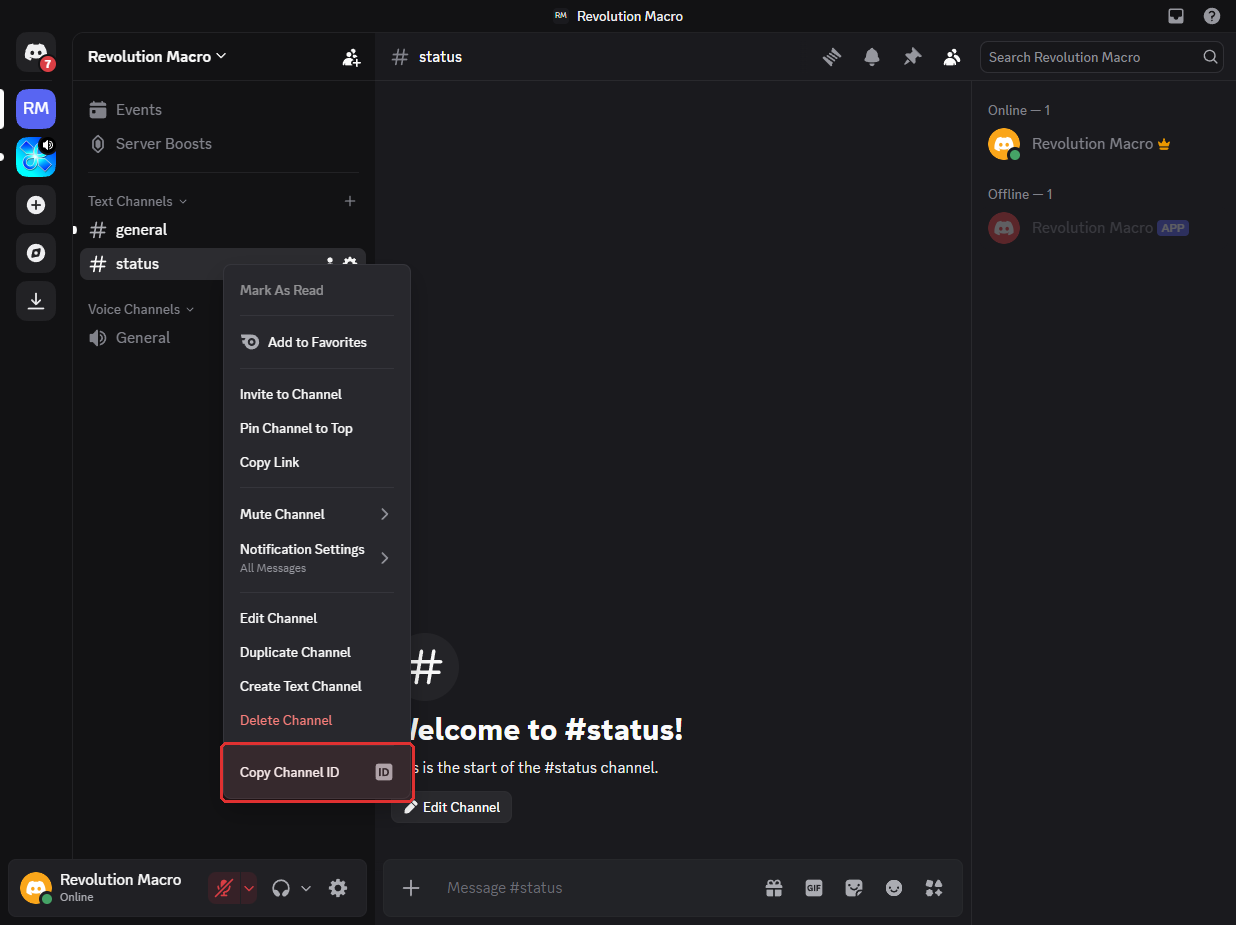
Back in Discord, right-click
#status, choose Copy Channel ID, and keep it on your clipboard for Bot Channel.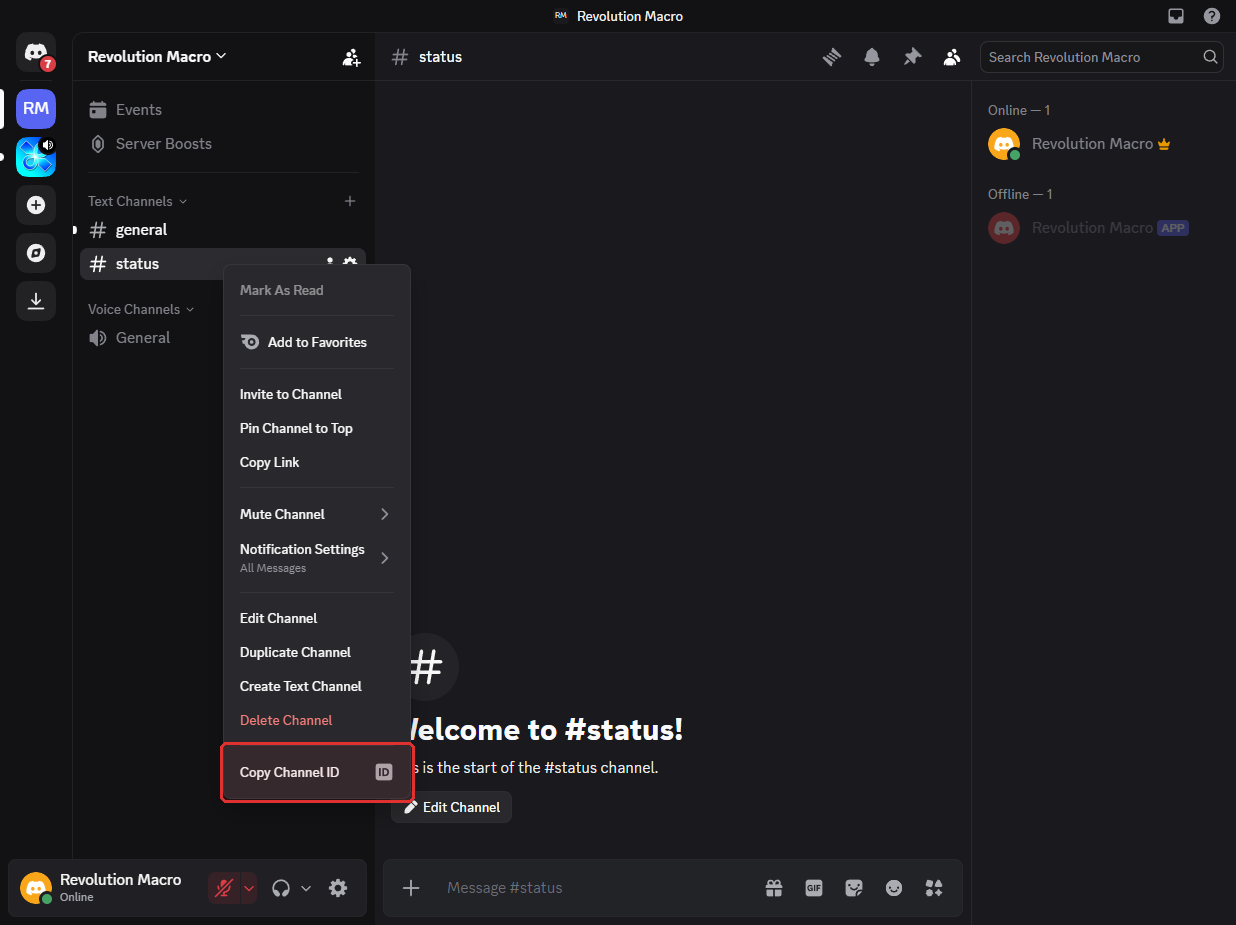
-
In Revolution, click the paste icon next to Bot Channel and paste the channel ID.
-
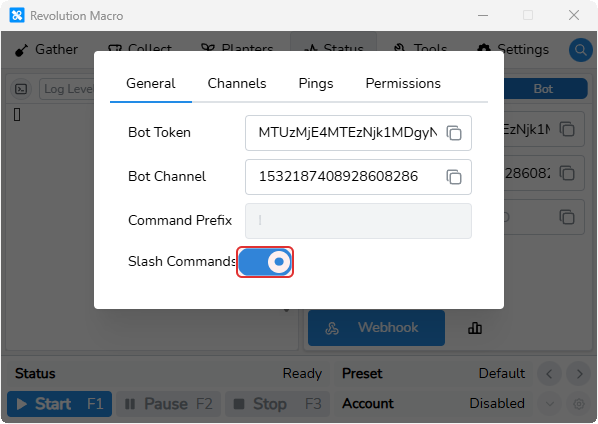
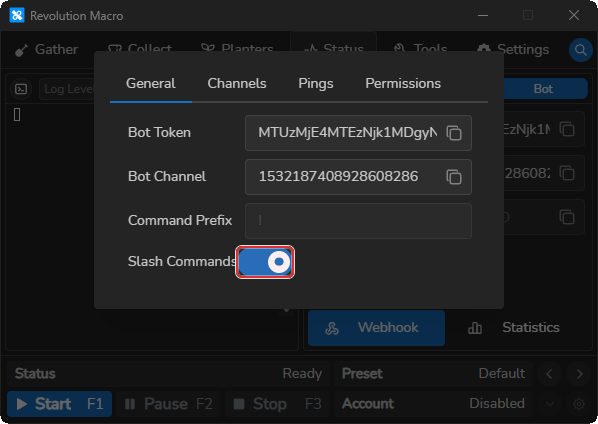
Click Advanced (gear) next to Bot Token. On General, leave Slash Commands on unless you prefer prefix commands.
-
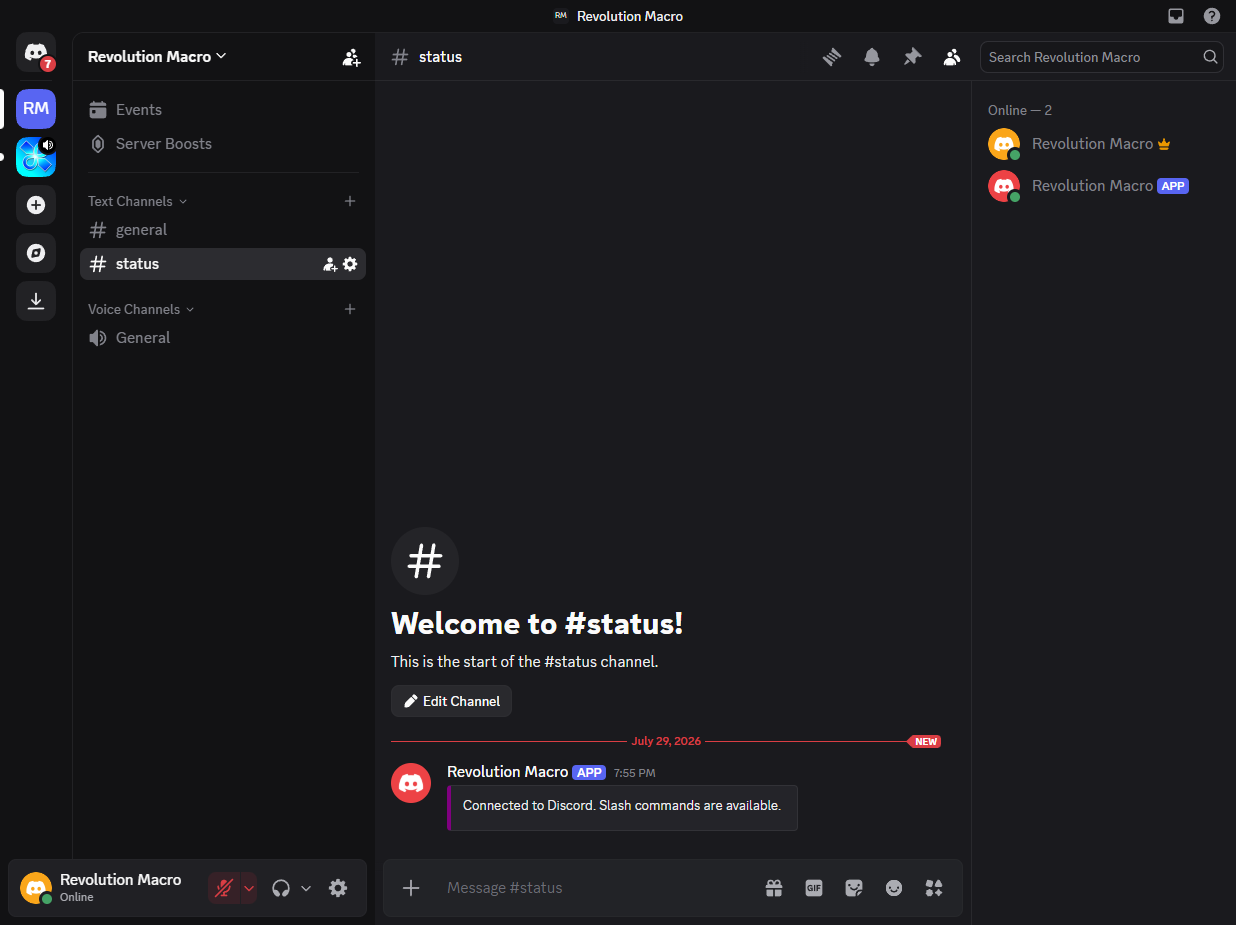
Wait a moment. Discord shows
Connected to Discord.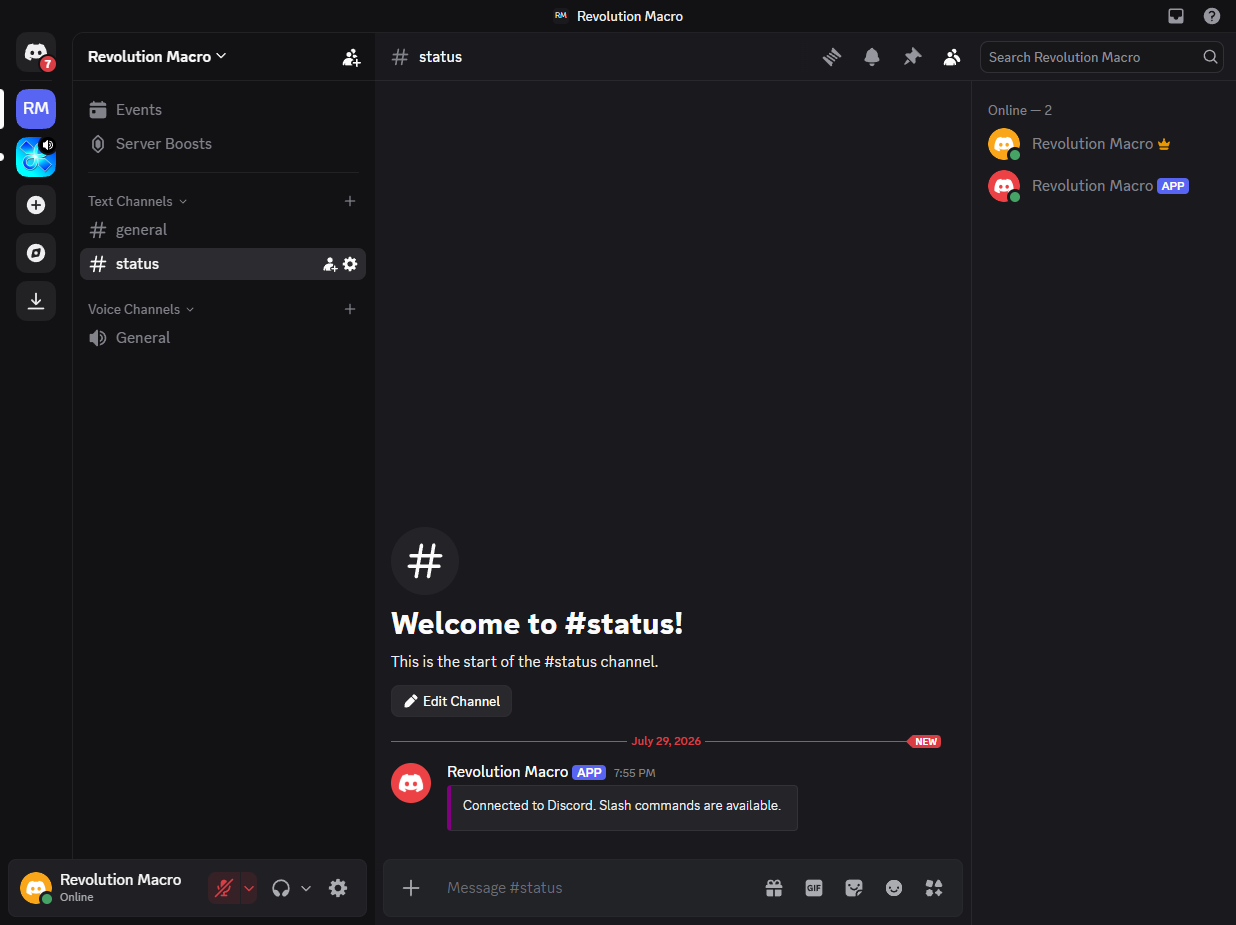
-
In that channel, run
/help. The bot lists commands such asstart,pause,stop,screenshot, andreport.
Bot Advanced options
Section titled “Bot Advanced options”After the bot connects, open Advanced (gear) next to Bot Token when you need more than the default setup.
Separate channels for reports and errors
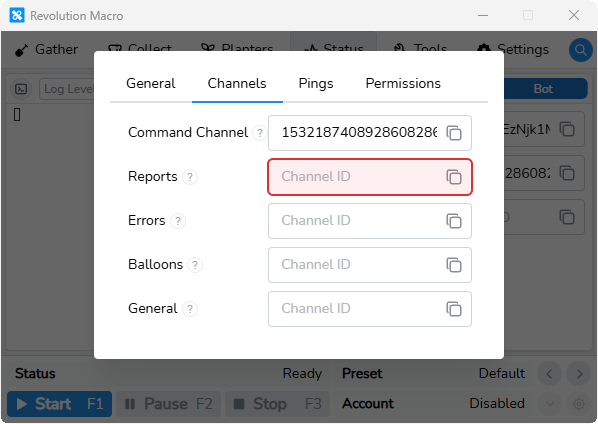
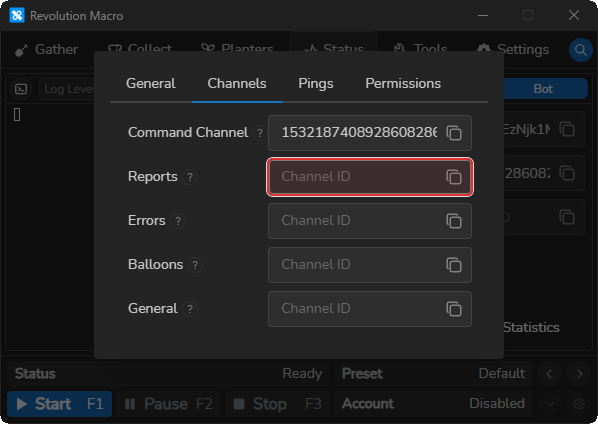
Section titled “Separate channels for reports and errors”By default, everything lands in Bot Channel. Open Advanced → Channels when you want hourly graphs, error lines, balloon alerts, and general status in different Discord channels. For example, use #reports for graphs and #errors for failures so a busy #status feed stays readable.
Paste a channel ID into Reports, Errors, Balloons, or General. Leave a field empty to keep that traffic on Bot Channel.
Discord pings when something breaks
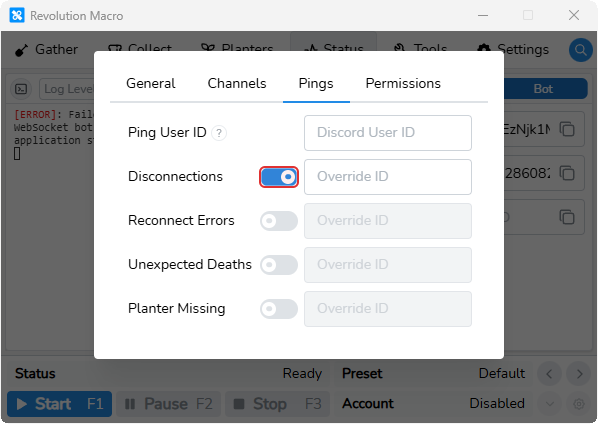
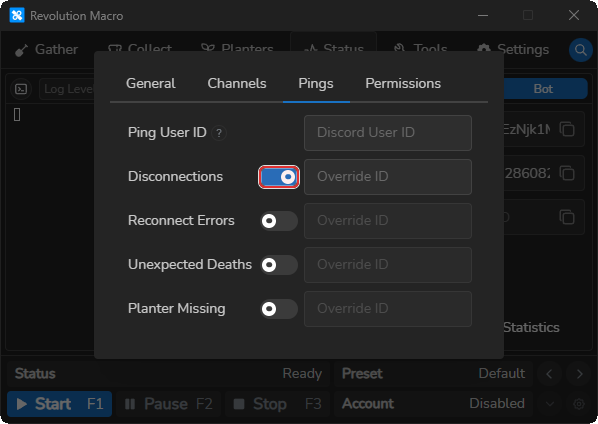
Section titled “Discord pings when something breaks”Open Advanced → Pings when you want Discord to @ you (or another account) on disconnects, reconnect failures, unexpected deaths, or a missing planter. That is useful when you are away from your PC and need a phone alert instead of scrolling the channel.
Set Ping User ID as the default mention. Turn on only the events you care about. Each event also has an Override ID where you can paste a different user ID for that specific event, which is handy when disconnect pings should go to you but planter alerts should go to someone else. When Override ID is empty, Ping User ID (or Ping ID on the main Status → Webhook form) is used instead.
Restrict who can run bot commands
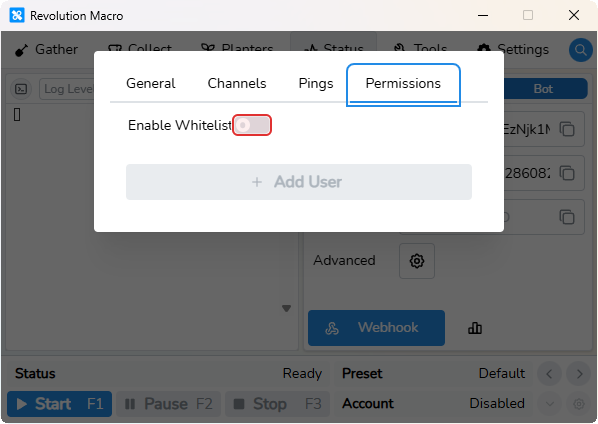
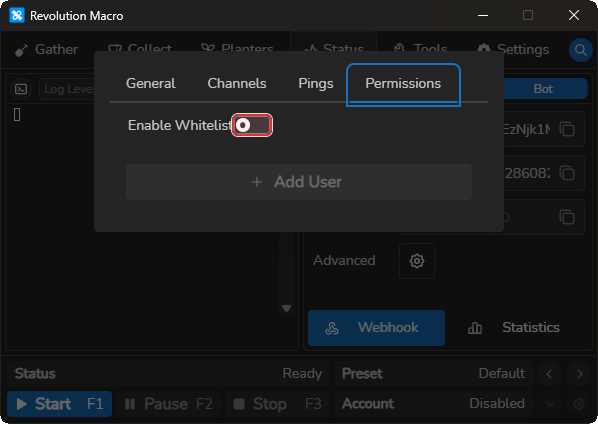
Section titled “Restrict who can run bot commands”Open Advanced → Permissions and turn on Enable Whitelist when the bot is on a shared server and you do not want every member to run /start or /stop. Add the Discord user IDs that are allowed. Everyone else is ignored.
Skip this on a private server you alone control.
More settings
Section titled “More settings”Discord
Section titled “Discord”Chooses Disabled, Webhook, or Bot. Use Webhook for status graphs and alerts. Switch to Bot only when you need remote Discord commands. Paste icons next to Webhook URL, Bot Token, Bot Channel, and Ping ID read from your clipboard.
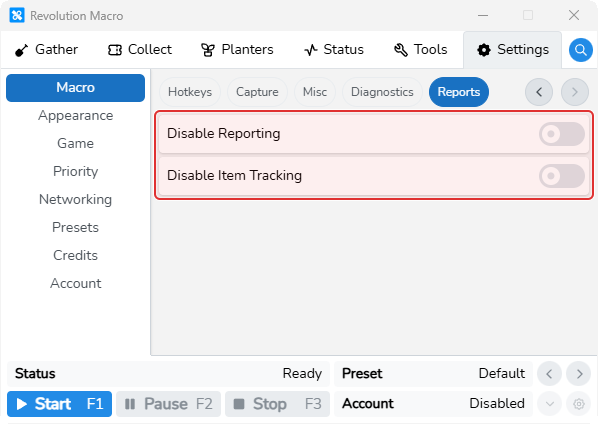
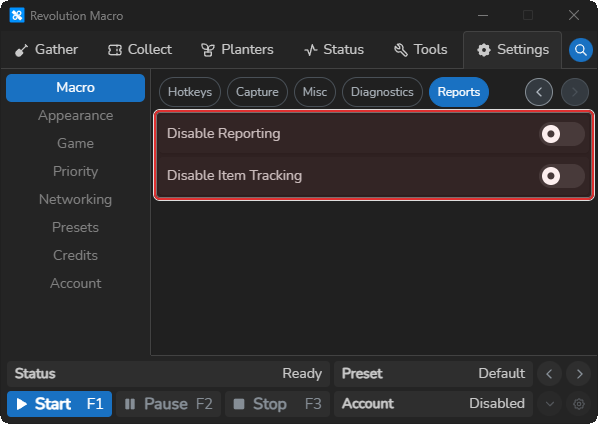
Disable Reporting
Section titled “Disable Reporting”When on, hourly Discord stats reporting is skipped. Turn off if you want hourly reports in Discord.
Disable Item Tracking
Section titled “Disable Item Tracking”When on, post-gather inventory scans and item reports are skipped. Turn off if you want item reports after long gathers. Item reports also need Webhook or Bot mode on Status → Webhook and a gather of at least about 180 seconds.
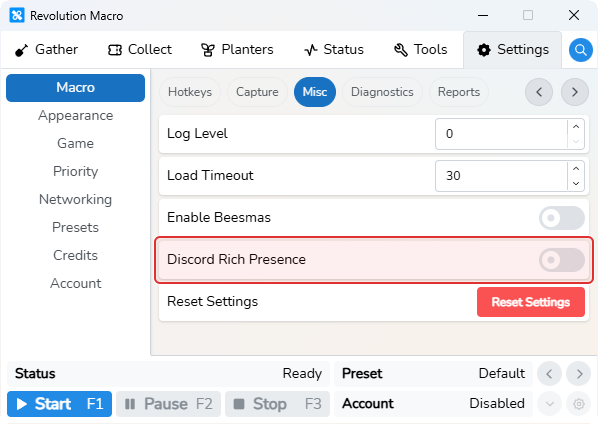
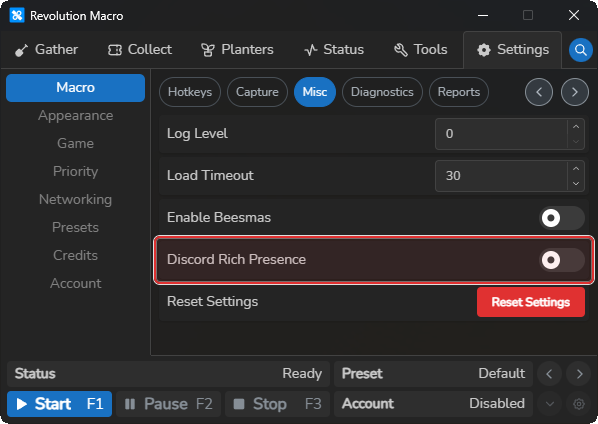
Discord Rich Presence
Section titled “Discord Rich Presence”Updates your Discord presence with macro status such as Running, Paused, or Stopped. Status refreshes about every 15 seconds while active. Updates only after the prompt has been shown and Discord Rich Presence is turned on. Toggling it is blocked for about 6 seconds after each change.
Slash Commands
Section titled “Slash Commands”Defaults on. When on, use slash commands in Discord instead of prefix commands.
Command Prefix
Section titled “Command Prefix”Defaults to !. Used when Slash Commands is off (!help lists commands).
Troubleshooting
Section titled “Troubleshooting”Invalid webhook URL for startup message!
Section titled “Invalid webhook URL for startup message!”Cause: Status → Webhook is set to Webhook, but the URL in Webhook URL cannot be parsed.
Fix:
- Paste a full webhook URL into Status → Webhook → Webhook URL (from the channel’s Integrations → Webhooks). Use the paste icon next to the field if the URL is already on your clipboard.
No startup embed or hourly report
Section titled “No startup embed or hourly report”Cause: Status → Webhook is Disabled, Disable Reporting is on, or reporting stops before the hour changes.
Fix:
- Open Status → Webhook and select Webhook or Bot.
- Confirm Webhook URL (or Bot Token plus Bot Channel) is filled and saved.
- Open Settings → Macro → Reports and turn Disable Reporting off if it is on.
- Start the macro and look for the Revolution Macro startup embed with Macro Version, Account, and Start Time.
- On Bot mode, recheck Bot Token and Bot Channel, or switch to Webhook for reports only.
Bot connects but ignores commands
Section titled “Bot connects but ignores commands”Cause: The bot lacks channel permissions, Slash Commands is off without Message Content Intent and a working prefix, or Enable Whitelist blocks your user ID.
Fix:
- Prefer leaving Slash Commands on under Advanced → General and using
/help. - If you use prefix commands, open the Bot tab in the Discord Developer Portal, turn Message Content Intent on under Privileged Gateway Intents, and save.
- On Installation → Guild Install, confirm Scopes includes bot, and permissions include View Channels, Send Messages, Read Message History, Embed Links, and Attach Files.
More help
- Capture and diagnostics when Game Load Timeout stops the macro before it starts
- Detection problems: when Discord alerts mention detection failures or the macro can’t read the screen
- Disconnect and rejoin: disconnection pings and rejoin Status lines