
Connect accounts with relay in Bee Swarm Simulator
A relay is how different instances of Revolution Macro communicate with each other. Tad Sync, Vic Hop searchers, and other multi-account tools all expect every one of your accounts to be on the same relay. Connect them under Settings → Networking. Use Local mode on the same network or PC. Use Cloud mode to connect accounts on different networks (requires sign-in to the Revolution Dashboard).
Choose Local or Cloud
Section titled “Choose Local or Cloud”| Situation | Use |
|---|---|
| Every instance on the same Wi-Fi, LAN, or one PC | Local (Advanced → Mode → Local, then Start) |
| Accounts on different networks / homes | Cloud (sign in on host and clients) |
| One account only, no multi-account tools | Internal (no network, Start is unused) |
| Discovery never lists the host on the same LAN | Still Local. Add the host by LAN Address with the host IP below |
Set the relay type under Advanced → Mode. The Relay row shows a Local, Cloud, or Int badge and a single Start / Active button for that type. You cannot host Local and Cloud at once on the same account — stop the active relay before switching type and starting again. Only one Local relay can run on a PC at a time.
Before you start
Section titled “Before you start”- Pick one host account that will click Start. Clients only join.
- Leave Auto-Start and Auto-Connect off for the first successful connect.
- Tad Sync and Vic Hop Searchers need every account on the same relay with identities under People.
Find the host LAN IP
Section titled “Find the host LAN IP”You need the host’s LAN IPv4 when the client Relays list stays empty, or when you add the host with + → LAN Address. Read it on the PC that clicked Start in Local mode — not on a client.
The address looks like 192.168.x.x or 10.x.x.x. The port is filled in if you omit it. Prefer this over guessing.
- On the host PC, open Command Prompt or PowerShell.
- Run
ipconfig. - Under the adapter you actually use (Wi-Fi or Ethernet), copy IPv4 Address.
Or open Settings → Network & internet → Wi-Fi or Ethernet → Properties and read the IPv4 address.
Skip adapters that look like VPN, virtual, Hyper-V, or WSL unless you know clients reach the host that way.
- On the host Mac, open Terminal.
- Run
ipconfig getifaddr en0for Wi-Fi, oripconfig getifaddr en1for Ethernet. - Copy the printed address.
Or open System Settings → Network → your active interface → Details and read IP Address.
Same computer only
Section titled “Same computer only”If every Revolution window runs on that same host PC, clients can use 127.0.0.1 as the address. Do not use 127.0.0.1 from another machine.
Do not use these as the LAN Address
Section titled “Do not use these as the LAN Address”- A public / WAN IP from a “what is my IP” site
- An IP from a different PC than the one hosting the Local relay
- A VPN-only address when clients are on normal home Wi-Fi
Connect on the same network (Local Relay)
Section titled “Connect on the same network (Local Relay)”-
Open Settings → Networking.
-
Open Advanced (gear) → Mode, choose Local, then close Advanced.
-
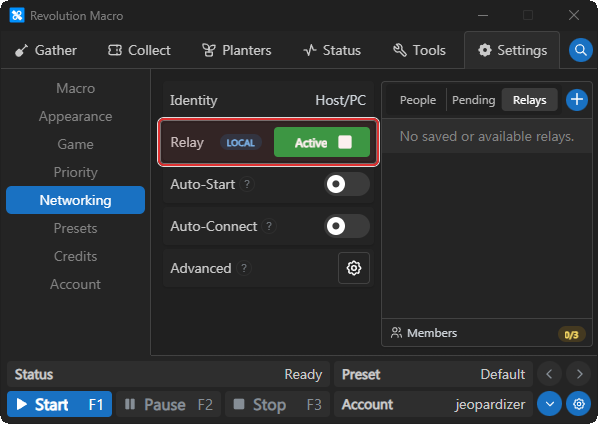
On the Relay row, click Start. The badge shows
Localand the button showsActive.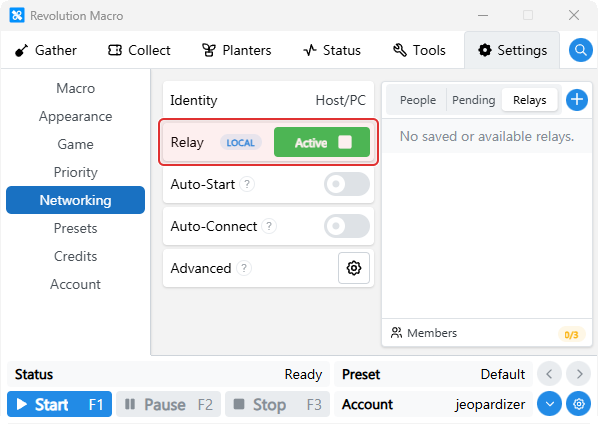
Clients (discovery)
Section titled “Clients (discovery)”-
On each client, open Settings → Networking.
-
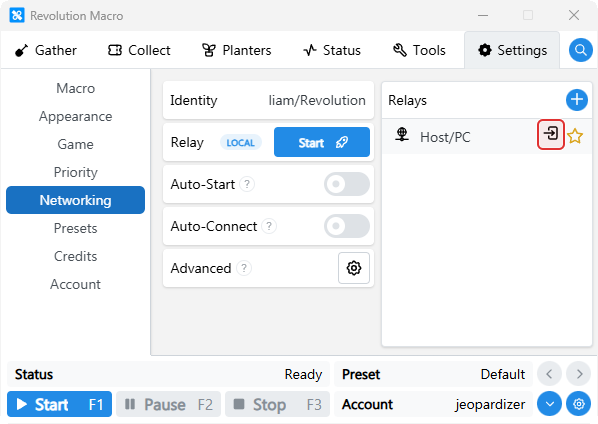
Wait about 5–10 seconds for the host (for example
Host/PC) to appear under Relays. -
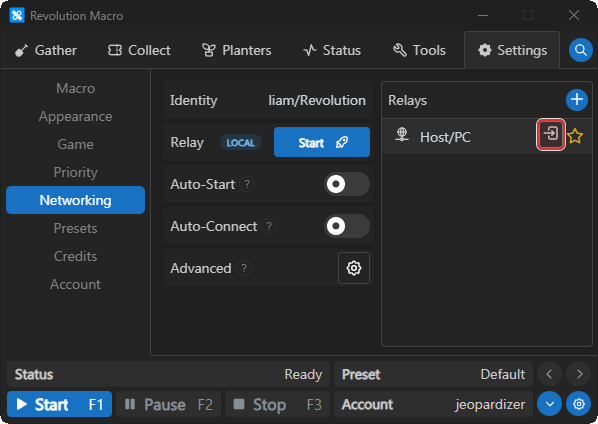
Hover the host row so the connect (enter) icon appears on the right, then click that icon. Optionally click the star so Auto-Connect can reuse it later.
-
Confirm the host moves into People, and Status on the client logs
Connected To Relay.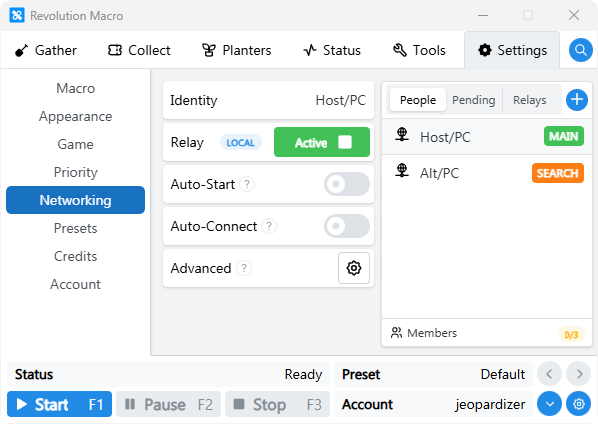
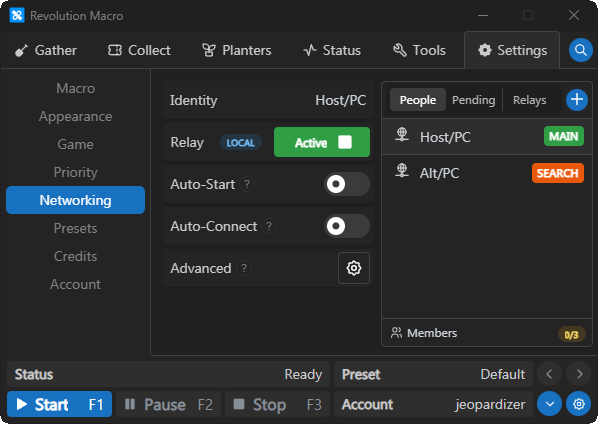
An empty Relays list shows No saved or available relays. Continue with Add the host by LAN Address below.
Add the host by LAN Address
Section titled “Add the host by LAN Address”Use this when discovery never lists the host.
- On the client, open Settings → Networking and click + (Add Relay).
- Open the LAN Address tab.
- Enter an Identity label you will recognize, paste the host LAN IPv4 from Find the host LAN IP into Address, and click Add Relay. Leave the port blank if you do not know it — Revolution fills it in.
- Hover the new row, click Connect, then confirm People and
Connected To Relayas above.
Connect across networks (Cloud Relay)
Section titled “Connect across networks (Cloud Relay)”Use Cloud mode when accounts are on different networks. Everyone must sign in. Stop any active Local relay on the host before you start Cloud.
Host: start Cloud and set Join Policy
Section titled “Host: start Cloud and set Join Policy”-
On the host, sign in and open Settings → Networking. Open Advanced → Mode, choose Cloud, then close Advanced.
-
On the Relay row, click Start (or Sign In if you are not signed in yet). The badge shows
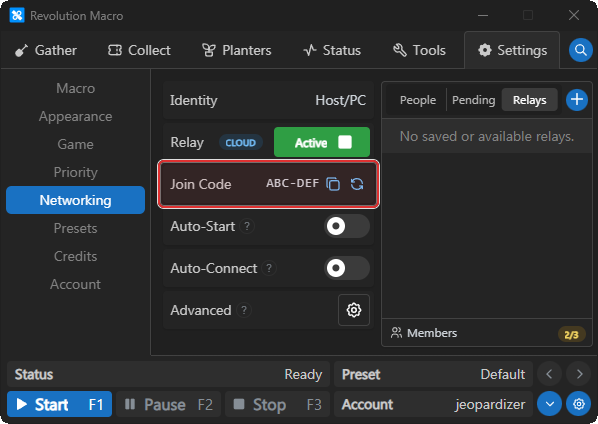
Cloud, the button showsActive, and a Join Code (XXX-XXX) appears with copy and regenerate.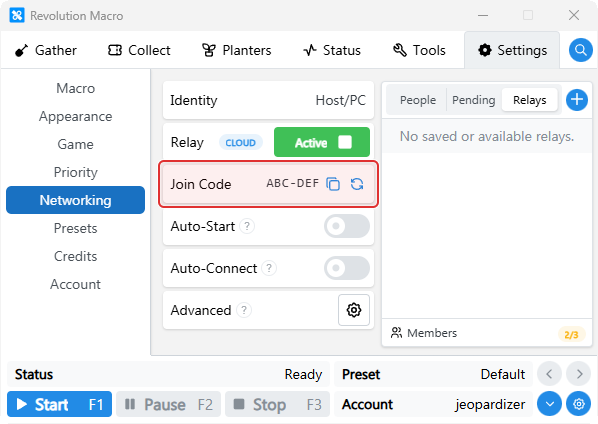
-
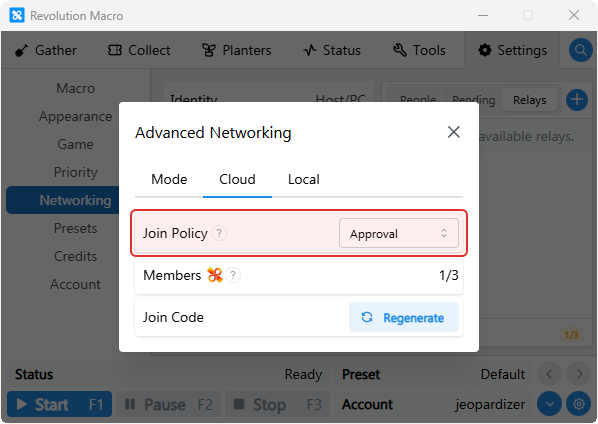
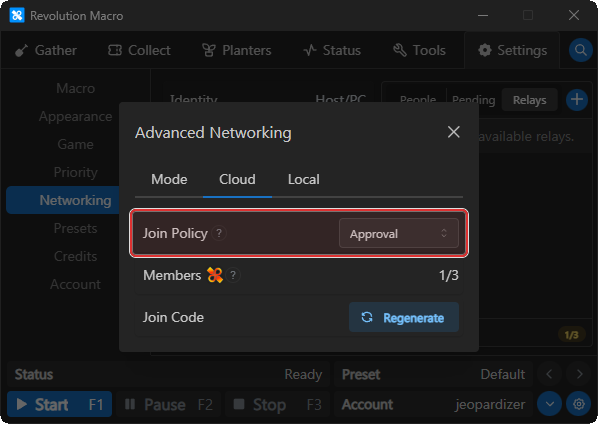
Open Advanced → Cloud. Set Join Policy to Open, Approval (default), or Trusted only, then close Advanced. Share the Join Code with clients.
Clients: join with + and a Join Code
Section titled “Clients: join with + and a Join Code”-
On each client, sign in and open Settings → Networking.
-
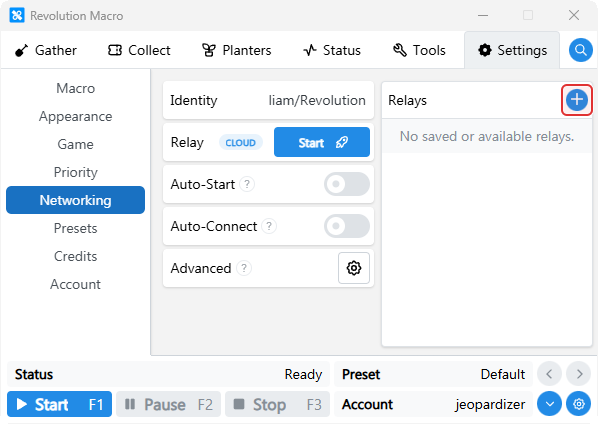
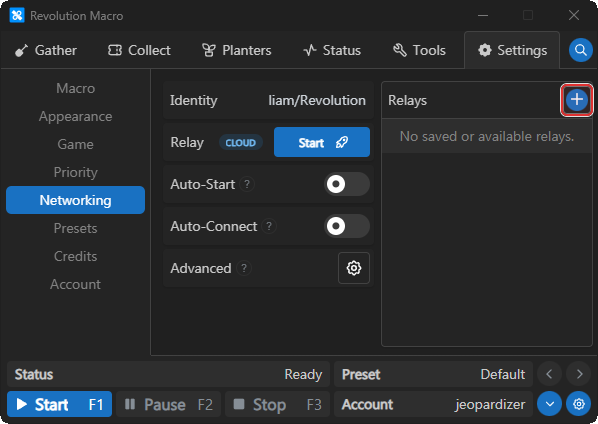
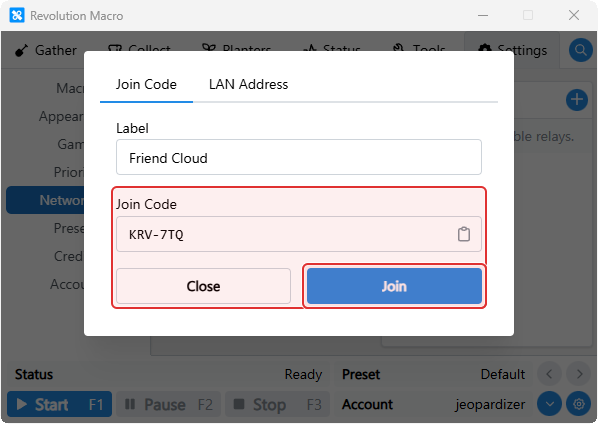
Click the blue + (Add Relay) next to the Relays header.
-
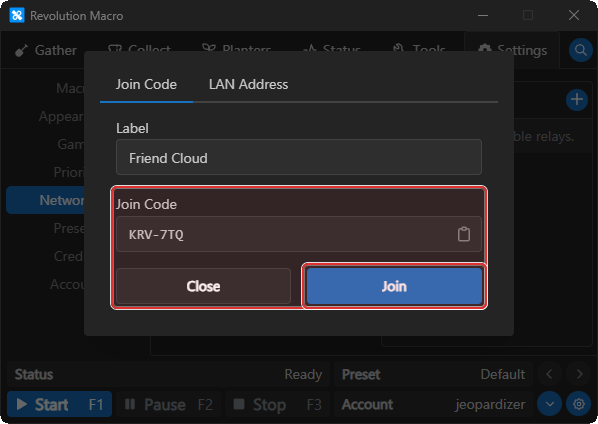
Stay on the Join Code tab. Optionally set a Label, paste the host’s code, and click Join.
-
The UI shows
Joining…, then either connects under People orWaiting for host approval…when policy is Approval or Trusted only.
Host: approve pending joins
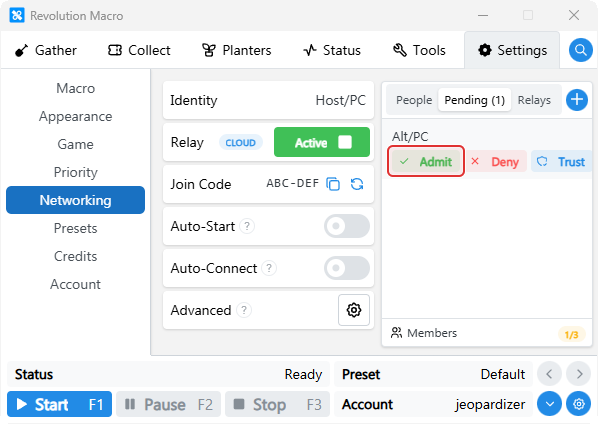
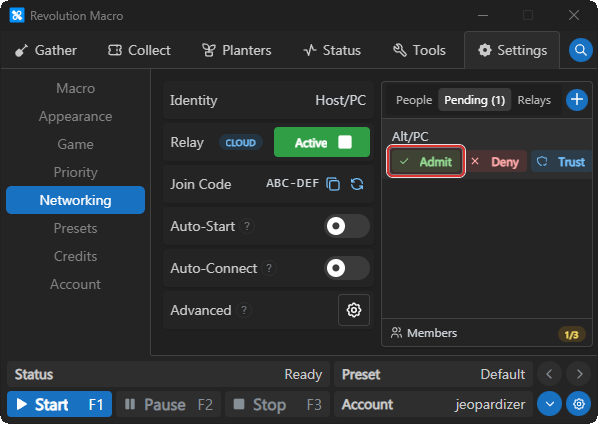
Section titled “Host: approve pending joins”When Join Policy is Approval or Trusted only, open the Pending tab on the host. For each request, click Admit, Deny, or Trust (Admit & Trust). Admitted clients appear under People (free tier shows n/3 in the Members footer).
Keep the relay online next time
Section titled “Keep the relay online next time”After one clean connect, use Auto-Start and Auto-Connect on Settings → Networking if you want the macro to host or join without clicking every session.
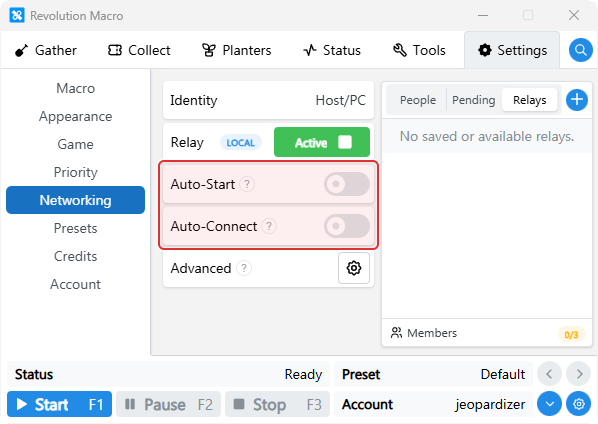
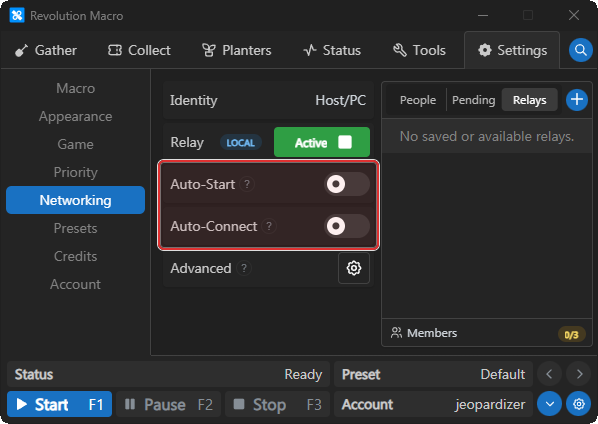
- Auto-Start (host): starts the selected relay type (Local or Cloud from Advanced → Mode) when the macro starts. Defaults off.
- Auto-Connect (clients): dials saved / starred relays when the macro starts. Defaults off. Star the host or save it with LAN Address / Join Code first.
- Enabling Auto-Start turns Auto-Connect off on that account, and the reverse.
People and roles
Section titled “People and roles”People lists every connected identity after a successful join. Tools assign role badges such as Main, Search, Fuzzy, Passive, and Tad once the link exists — you do not pick those badges to “create” the relay. If two windows use the same identity string, the second join is rejected. For connect failures and role timeouts, see Relay and connection problems.
More settings
Section titled “More settings”Networking
Section titled “Networking”Identity, Relay (mode badge + Start/Active), Join Code (Cloud while Active), Auto-Start, Auto-Connect, Advanced, and the Relays / People / Pending list. Connect every Searcher and Tad Sync account here before those tools can coordinate.
Advanced → Mode
Section titled “Advanced → Mode”Cloud, Local, or Internal. Start and Auto-Start use the selected type. Cloud requires sign-in to host or join.
Join Policy
Section titled “Join Policy”Open, Approval, and Trusted only control who joins a cloud relay (default Approval). Change this while Cloud is Active. Pending offers Admit, Deny, and Trust (Admit & Trust).
Join Code
Section titled “Join Code”Shown as XXX-XXX while Cloud is Active. Clients join with + → Join Code. Copy or regenerate from the Join Code row (or regenerate under Advanced → Cloud). Regenerating means friends need the new code.
Bind Address
Section titled “Bind Address”Optional LAN bind override. Leave empty for the default Local listen address.
Troubleshooting
Section titled “Troubleshooting”If Local will not stay Active, dial tcp times out, a join code is rejected, or Tad Sync ignores Main after connect, use Relay and connection problems. Re-check the host IP steps in Find the host LAN IP before you change firewall rules.
More help