
Edit the Planter Studio timeline
Revolution Macro makes it easy to create your own custom planter schedules. Planter Studio offers an interactive scheduling system where you can place planter tracks down yourself, drag and resize them, edit them, and more. For Auto Planters, check out Set up auto planters.
Before you start
Section titled “Before you start”- Open the Planters tab. You see the timeline, Duration and Snap To Grid at the top, and Add Track in the sidebar when Auto-Planters is off.
- Turn Auto-Planters off under Planters → Auto-Planters when you want to drag tracks and use Add Track. With Auto Planters on, the timeline is read-only and the sidebar shows Refresh Schedule instead — covered on Set up auto planters.
-
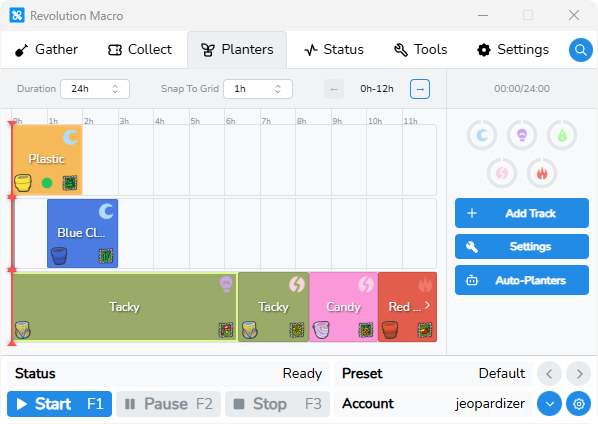
Open the Planters tab and turn Auto-Planters off. You see three cycle rows, Duration and Snap To Grid at the top, and Add Track in the sidebar.
-
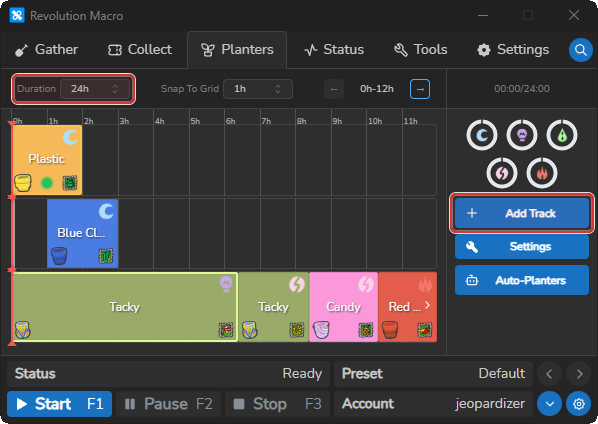
Set Duration to 12h, 24h, or 48h. Leave Snap To Grid at 1h unless you want finer snaps when you drag tracks.
-
Click Add Track, pick a planter type, then a field. Move over an open gap on a cycle row and click to place. A new track appears about 2 hours long.
-
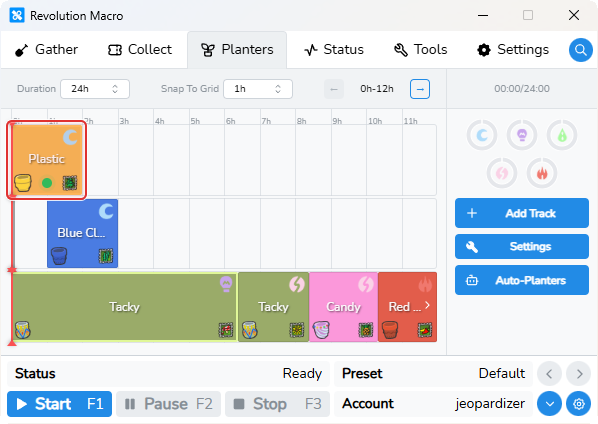
Drag the track left or right to change when it starts. Drag either end to change how long it grows. Edges snap to Snap To Grid.
-
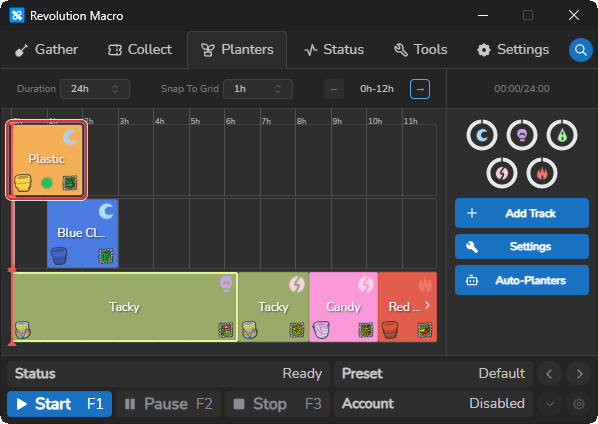
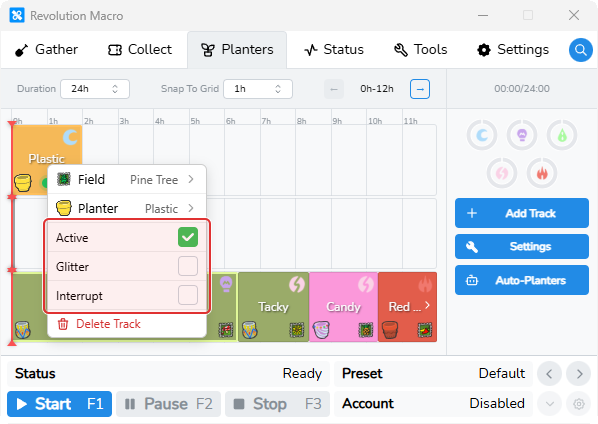
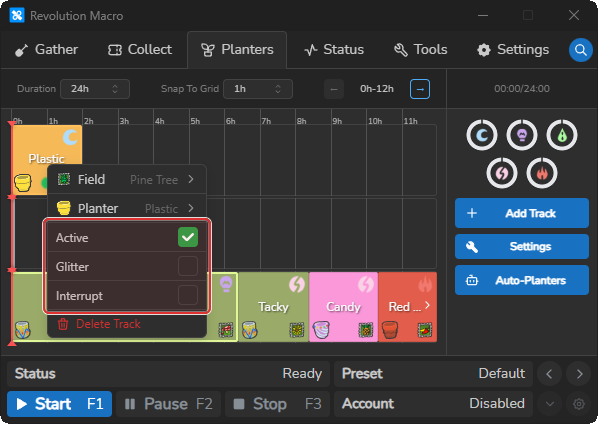
Right-click the track to open the context menu. Change Field or Planter, toggle Active, Glitter, or Interrupt, or choose Delete Track.
-
Open Planters → Settings and set Timeline Mode to Timer. On a cycle row, click the red triangle at the top or bottom of the red cursor line, drag left or right, and release. The cursor snaps to Snap To Grid. A tooltip shows that cycle’s time while you drag.
Drag and resize tracks
Section titled “Drag and resize tracks”With Auto-Planters off, click and drag the middle of a track to move it along its cycle row. Drag the left or right edge to shorten or lengthen grow time. Tracks snap to Snap To Grid while you drag.
If two tracks would use the same planter type at overlapping times, hover can show Overlaps with track on cycle N. Move or resize until the overlap clears. With Auto-Planters on, drag and resize are blocked — hover can show Cursor locked - Auto-Planters enabled.
Track context menu
Section titled “Track context menu”Right-click any track in the planters tab (with Auto-Planters off) for the full menu.
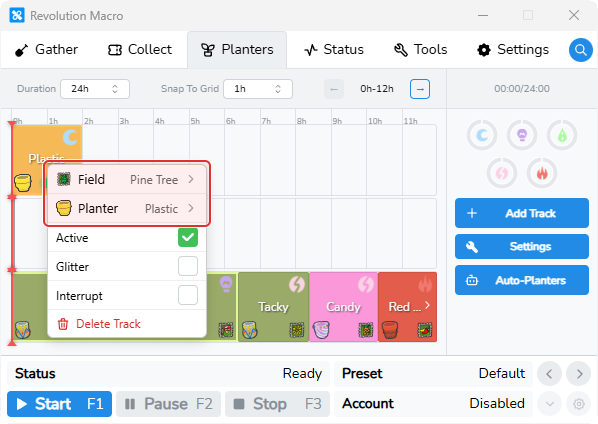
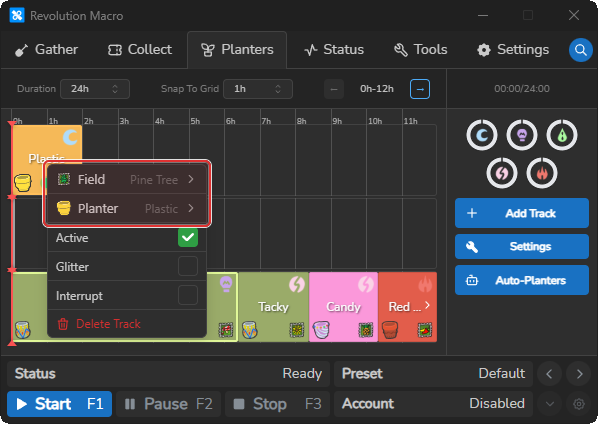
Field and Planter
Section titled “Field and Planter”Hover Field or Planter to open a submenu and pick a new field or planter type for that track. Changing either can shorten the track if the new pair cannot grow as long as before.
Active
Section titled “Active”Marks the track the macro should treat as planted now. An Active track shows a pulsing green dot between the planter and field icons. Turning Active on for one track turns it off for other tracks on the same cycle.
Glitter
Section titled “Glitter”When on, the macro uses glitter for that planter. The track shows a glitter icon. Grow time can shorten because glitter speeds growth.
Interrupt
Section titled “Interrupt”When on, the macro can leave other work (such as gathering) to plant or harvest this track when its time arrives.
Delete Track
Section titled “Delete Track”Removes that track from the cycle. Disabled while Auto-Planters is on.
Duration, Snap To Grid, and pages
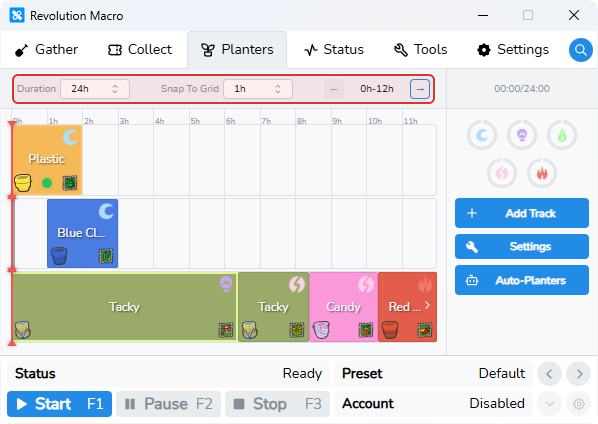
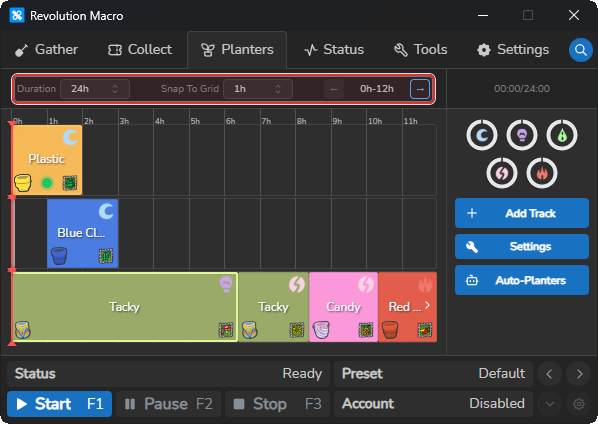
Section titled “Duration, Snap To Grid, and pages”Duration, Snap To Grid, and the page arrows at the top set how long the schedule is, how tracks snap, and which slice of time you see.
Duration
Section titled “Duration”Sets the full schedule length to 12h, 24h, or 48h. Progress time at the top shows current cursor time over that total.
Snap To Grid
Section titled “Snap To Grid”Shown only when Auto-Planters is off. Snaps drag and resize to 5m, 10m, 15m, 20m, 30m, or 1h. Use a finer snap when you need precise harvest times. With Auto-Planters on, this control becomes Clear Schedule instead — see Set up auto planters.
PlantersEach view shows at most 12 hours. The label between ← and → shows the current slice (for example 0h-12h). Use the arrows to move through a 24h or 48h schedule.
Timeline Mode
Section titled “Timeline Mode”Clock ties the red cursor to real-world time across Duration. Timer uses the stored cursor so you can drag it. Open Planters → Settings and set Timeline Mode.
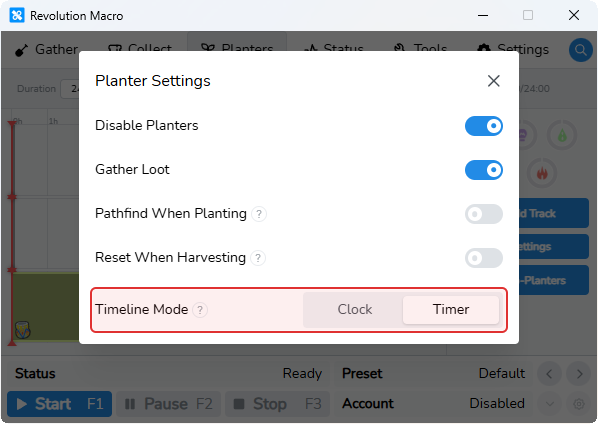
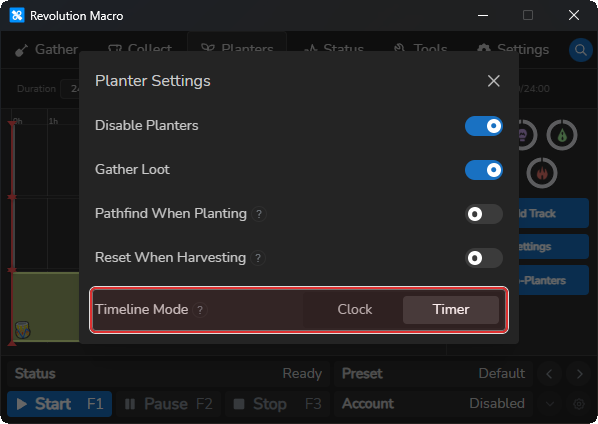
In Clock mode, dragging the red cursor is blocked and the tooltip shows Cursor locked to clock. A clock icon appears next to progress time. With Auto-Planters on, Clock is ignored and the UI keeps Timer behavior — turn Auto Planters off if you need Clock.
Drag the red cursor
Section titled “Drag the red cursor”With Auto-Planters off and Timeline Mode set to Timer, each cycle row shows a red vertical line — the schedule cursor for that cycle. A small red triangle sits above and below the line on each row.
- Move the pointer over either triangle on the cycle you want to move. The pointer changes to a grab hand.
- Click and hold, then drag left or right along the cycle row. While you drag, a tooltip shows
Cycle N: HH:MMfor that row. - Release to set the time. The cursor snaps to Snap To Grid. Tracks the line crosses show grow progress on the filled side of the track.
Use the top or bottom triangle on the same cycle — both drag that cycle’s cursor. Dragging past the left or right edge of the visible page jumps to the previous or next 12-hour page on 24h or 48h schedules.
In Clock mode, the triangles show not-allowed and the tooltip says Cursor locked to clock — switch to Timer first. With Auto-Planters on, manual track editing is off. The timeline uses one shared cursor for scanning the auto-built schedule.
How cycle timers work
Section titled “How cycle timers work”With Auto-Planters off, each cycle row keeps its own schedule clock. The red cursor on that row is where the macro is on that row’s tracks. Cycle 2 can sit on hour four while cycle 1 is still on hour one — the three rows do not share one timer.
While the macro is running and at least one row has a planter down, the macro advances every row’s cursor in real time. Tracks the red line crosses show grow progress on the filled side. Progress time at the top (01:00 / 24:00) follows cycle 1 so you always have one reference clock. The other rows still keep their own position on their row.
Drag a row’s red cursor in Timer mode to set where that row should start before you run the macro. In Clock mode each row follows wall clock time across Duration instead, and stored cursor positions do not tick.
Which track runs next. Think of each cycle row as its own planter slot. When a row has no Active track (nothing planted for that slot yet), the macro picks the next track on that row.
Bee Swarm only lets one of each planter type, and one planter per field, be down at once. Before planting, the macro looks at planters already down on the other cycles. If another cycle already has the same planter type or the same field marked Active, this row cannot plant that track yet. The macro skips it and tries the next track on the same row. It keeps skipping until it finds a track that does not clash with planters in other cycles, or until every track on the row has been checked.
Example: cycle 1 already has a Plastic Planter on Pine Tree. Cycle 2’s next track is also a Plastic Planter. The macro skips that Plastic track because a Plastic Planter is already down on another cycle, then plants the next track on cycle 2 that uses a different planter and a free field.
When the row loops. Manual rows repeat the tracks you placed on that row.
- After the macro harvests the last track on a row (the one that ends latest), the cursor jumps back toward the start of that row. How far back depends on how far past that last track the cursor had already moved. The next pass through the row picks up there, not always at hour zero.
- If the cursor moves past the end of the row and the macro still needs the next track, it wraps to the first track on that row that starts before where the cursor was.
When nothing is planted on any row, a cursor that no longer sits on a track resets to the start of that row. Clear Schedule also resets cursors and pauses the row timers until you start the macro again with a planter down.
Auto Planters uses one shared cursor instead — see Set up auto planters.
More settings
Section titled “More settings”Disable Planters
Section titled “Disable Planters”Stops all planting and harvesting. Leave it off while you use the timeline. Turn it on only when you want planters fully paused.
Add Track
Section titled “Add Track”Opens planter and field pickers, then places a ~2 hour track where you click a gap. Replaced by Refresh Schedule when Auto-Planters is on.
Troubleshooting
Section titled “Troubleshooting”Can’t drag tracks or no Add Track
Section titled “Can’t drag tracks or no Add Track”Cause: Auto-Planters is on. Manual drag, resize, and Add Track are disabled.
Fix:
- Open Planters → Auto-Planters and turn Enabled off.
- Confirm the sidebar shows Add Track and Snap To Grid is back in the top bar.
Can’t drag the red cursor (Cursor locked to clock)
Section titled “Can’t drag the red cursor (Cursor locked to clock)”Cause: Timeline Mode is set to Clock. The red triangles on each cycle row are locked to real time.
Fix:
- Open Planters → Settings and set Timeline Mode to Timer.
- Click a red triangle at the top or bottom of a cycle’s cursor line and drag left or right — the tooltip should show
Cycle N: HH:MMwhile you move it.
Harvest or plant never runs
Section titled “Harvest or plant never runs”If Disable Planters is on, or a cycle timer is frozen after Clear Schedule, follow the Fixes on Failed to harvest planter.
More help
- Set up auto planters: Auto Planters and Refresh Schedule
- Failed to harvest planter: Disable Planters, Clear Schedule when the timer is stuck, cycle failed, or won’t replant